

Teleport는 현대적인 인프라 접근 관리 플랫폼으로, 서버, 쿠버네티스, 데이터베이스 및 웹 애플리케이션에 대한 보안 접근을 제공합니다.
Teleport의 핵심 개념 및 동작 원리
1.
제로 트러스트 아키텍처: 모든 접근 요청은 기본적으로 신뢰하지 않고 항상 인증 및 권한 부여를 거칩니다.
2.
통합 액세스 관리: SSH, 쿠버네티스, 데이터베이스, 웹 애플리케이션 등 다양한 시스템에 대한 접근을 단일 플랫폼에서 관리합니다.
3.
Certificate 기반 인증: 단기 인증서를 사용하여 보안을 강화하고 비밀번호와 같은 정적 자격 증명을 제거합니다.
4.
감사 및 로깅: 모든 접근 시도와 세션을 기록하여 보안 감사와 컴플라이언스 요구사항을 충족합니다.
Teleport의 주요 구성 요소
1.
Teleport Auth Service: 인증 기관 역할을 하며 인증서 발급과 인증을 관리합니다.
2.
Teleport Proxy Service: 클라이언트와 대상 리소스 간의 연결을 중개합니다.
3.
Teleport Node: 서버나 컨테이너에 설치되어 SSH 및 쿠버네티스 접근을 제공합니다.
4.
Teleport Application Service: 내부 웹 애플리케이션에 대한 접근을 제어합니다.
5.
Teleport Database Service: 데이터베이스 접근을 관리합니다.
텔레포트 로컬 계정의 비밀번호 보안 정책(복잡도, 변경주기) 기능이 없음을 확인…
텔레포트 로컬 계정 보안으로는 MFA 기능, 최소 비밀번호 5자리 이상 설정만 제공됨.
따라서 CSAP에 영향 받는 공공메일에 바로 반영은 어렵고, 이행 점검 시 사용 가능한지 문의 예정 스크린샷
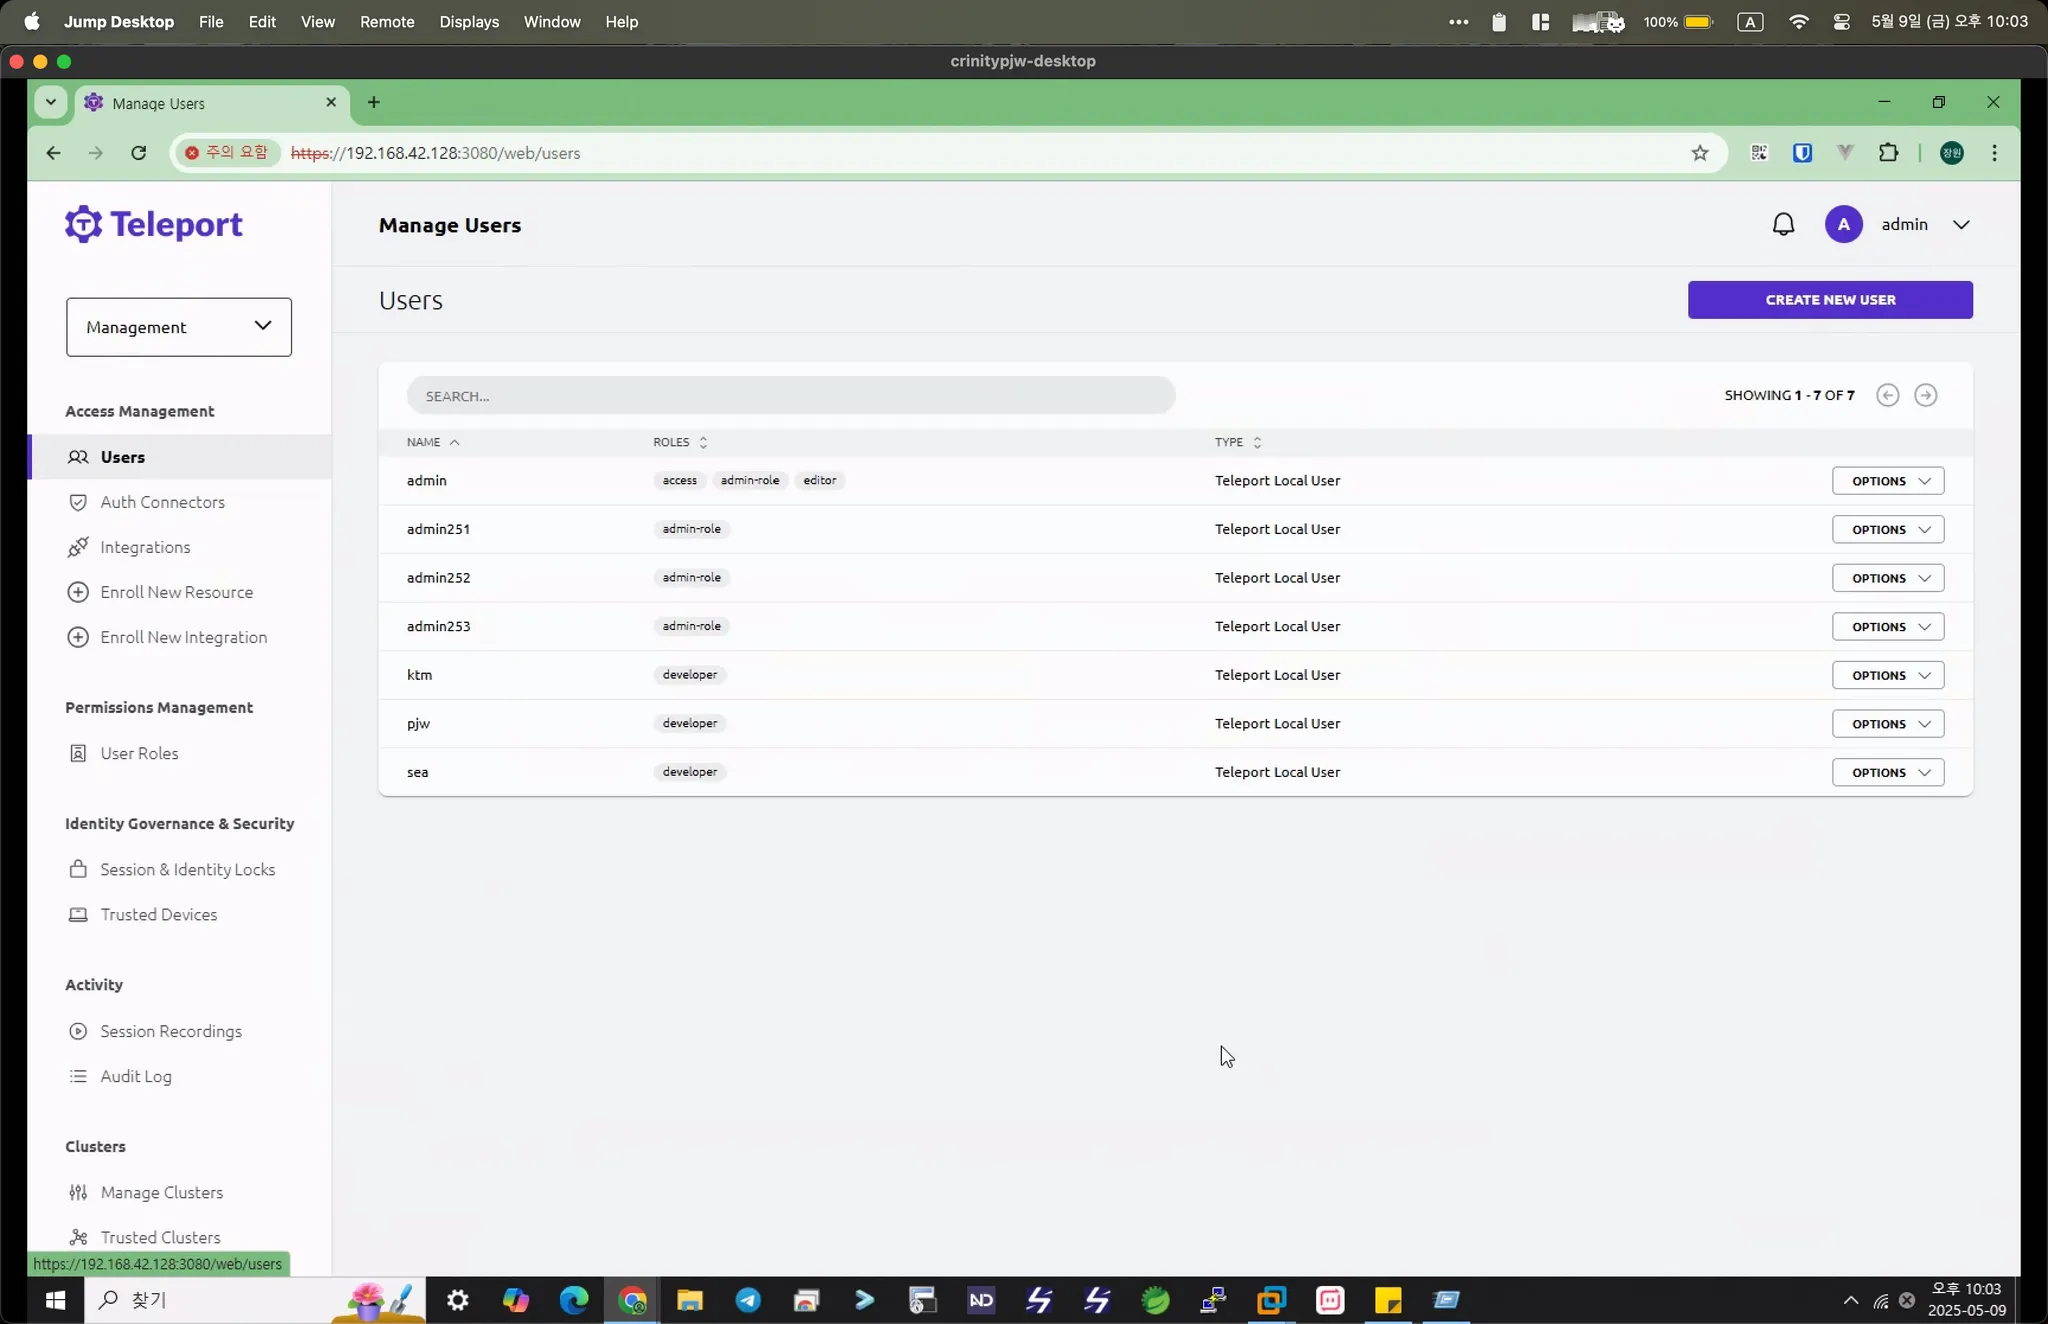
사용자 계정 관리
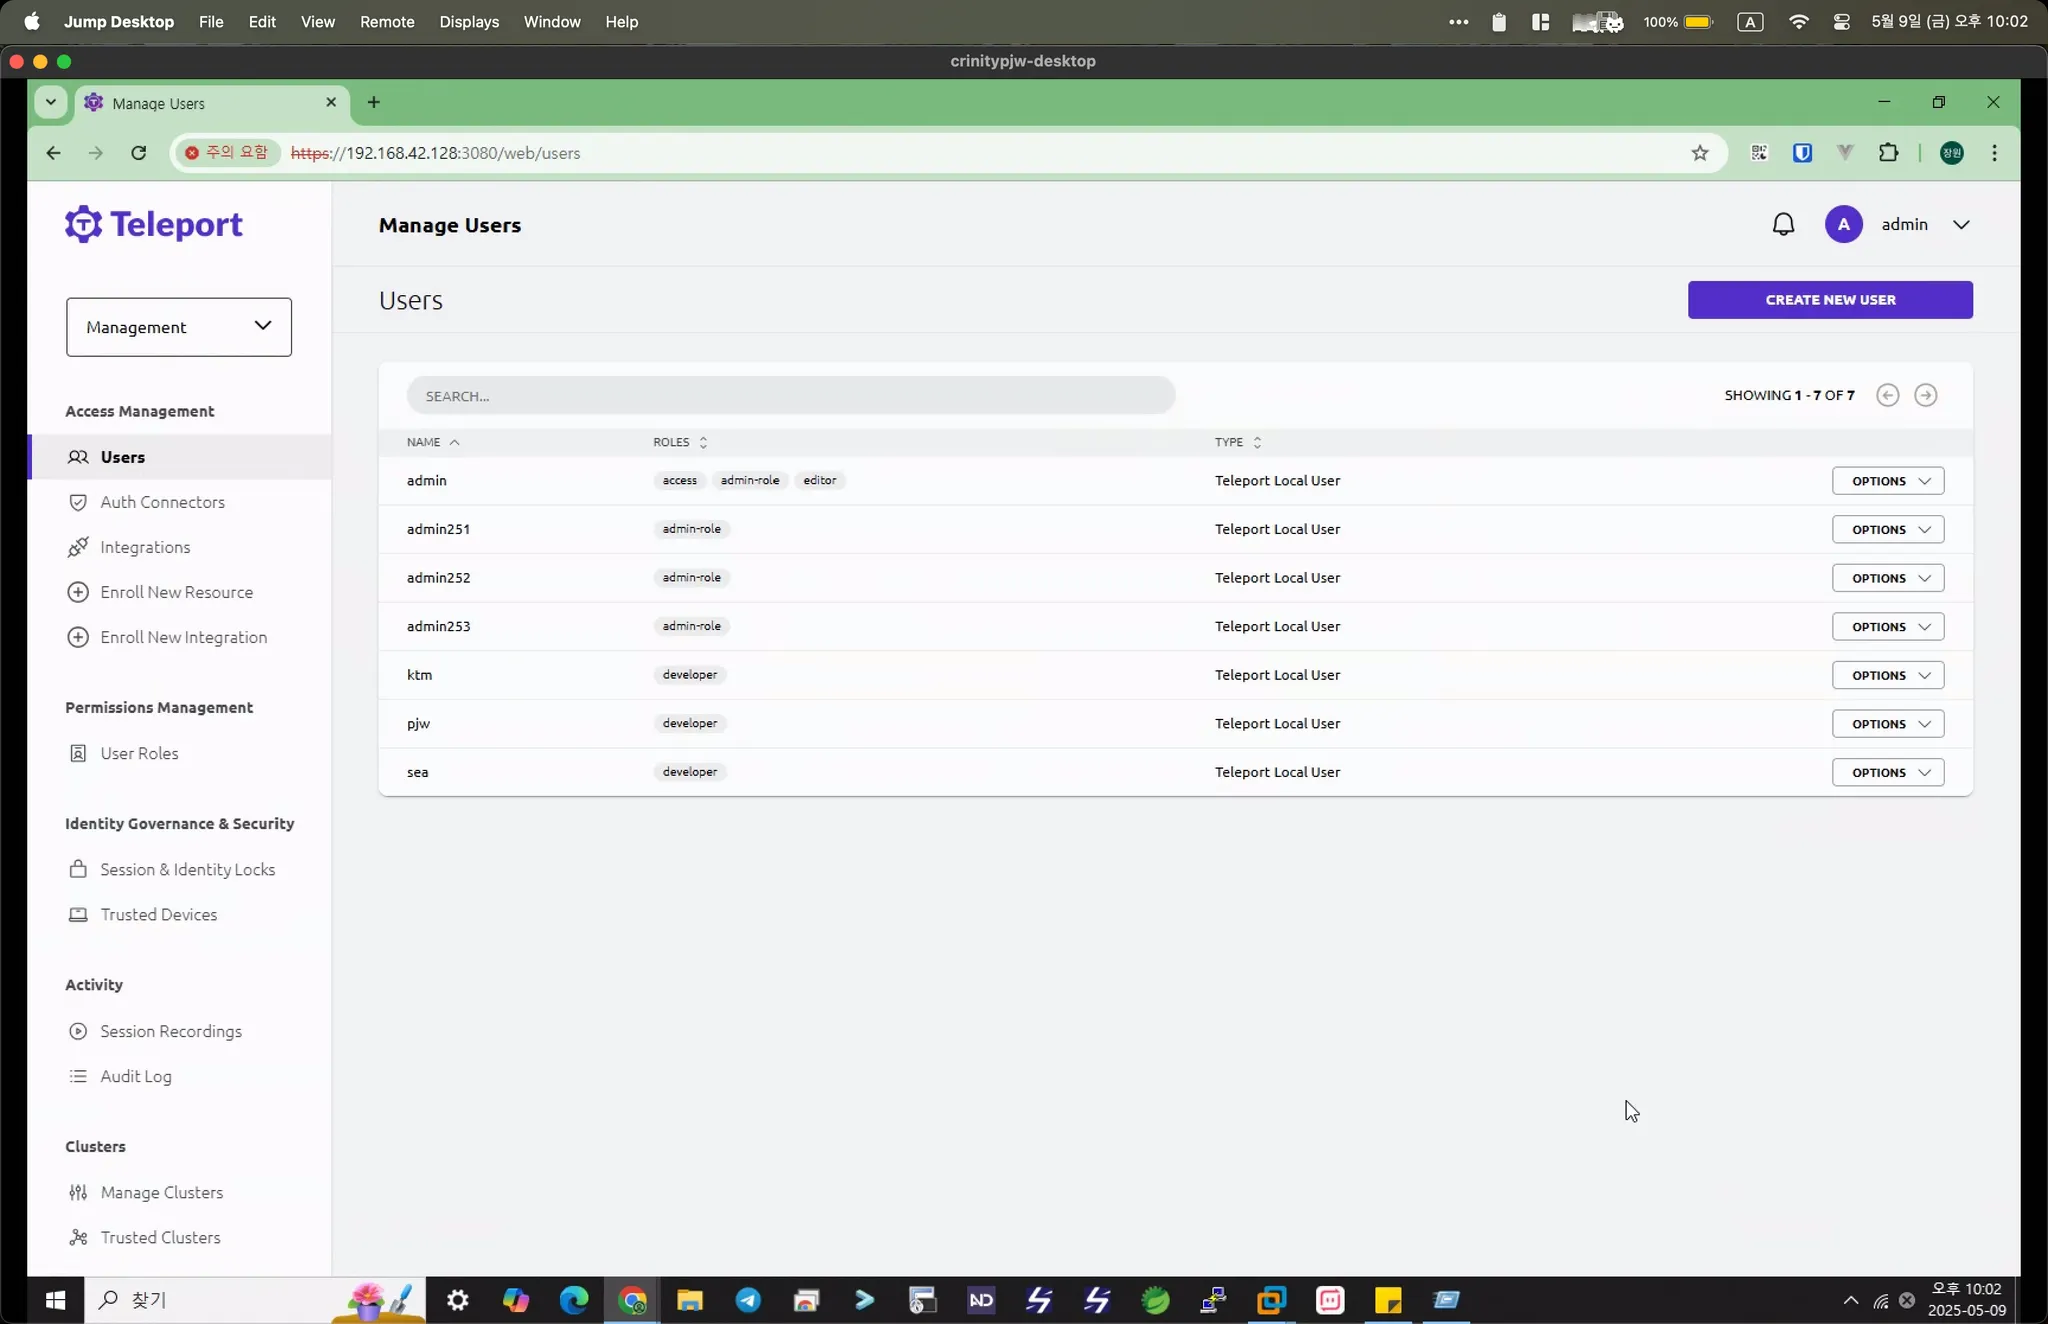
권한 관리
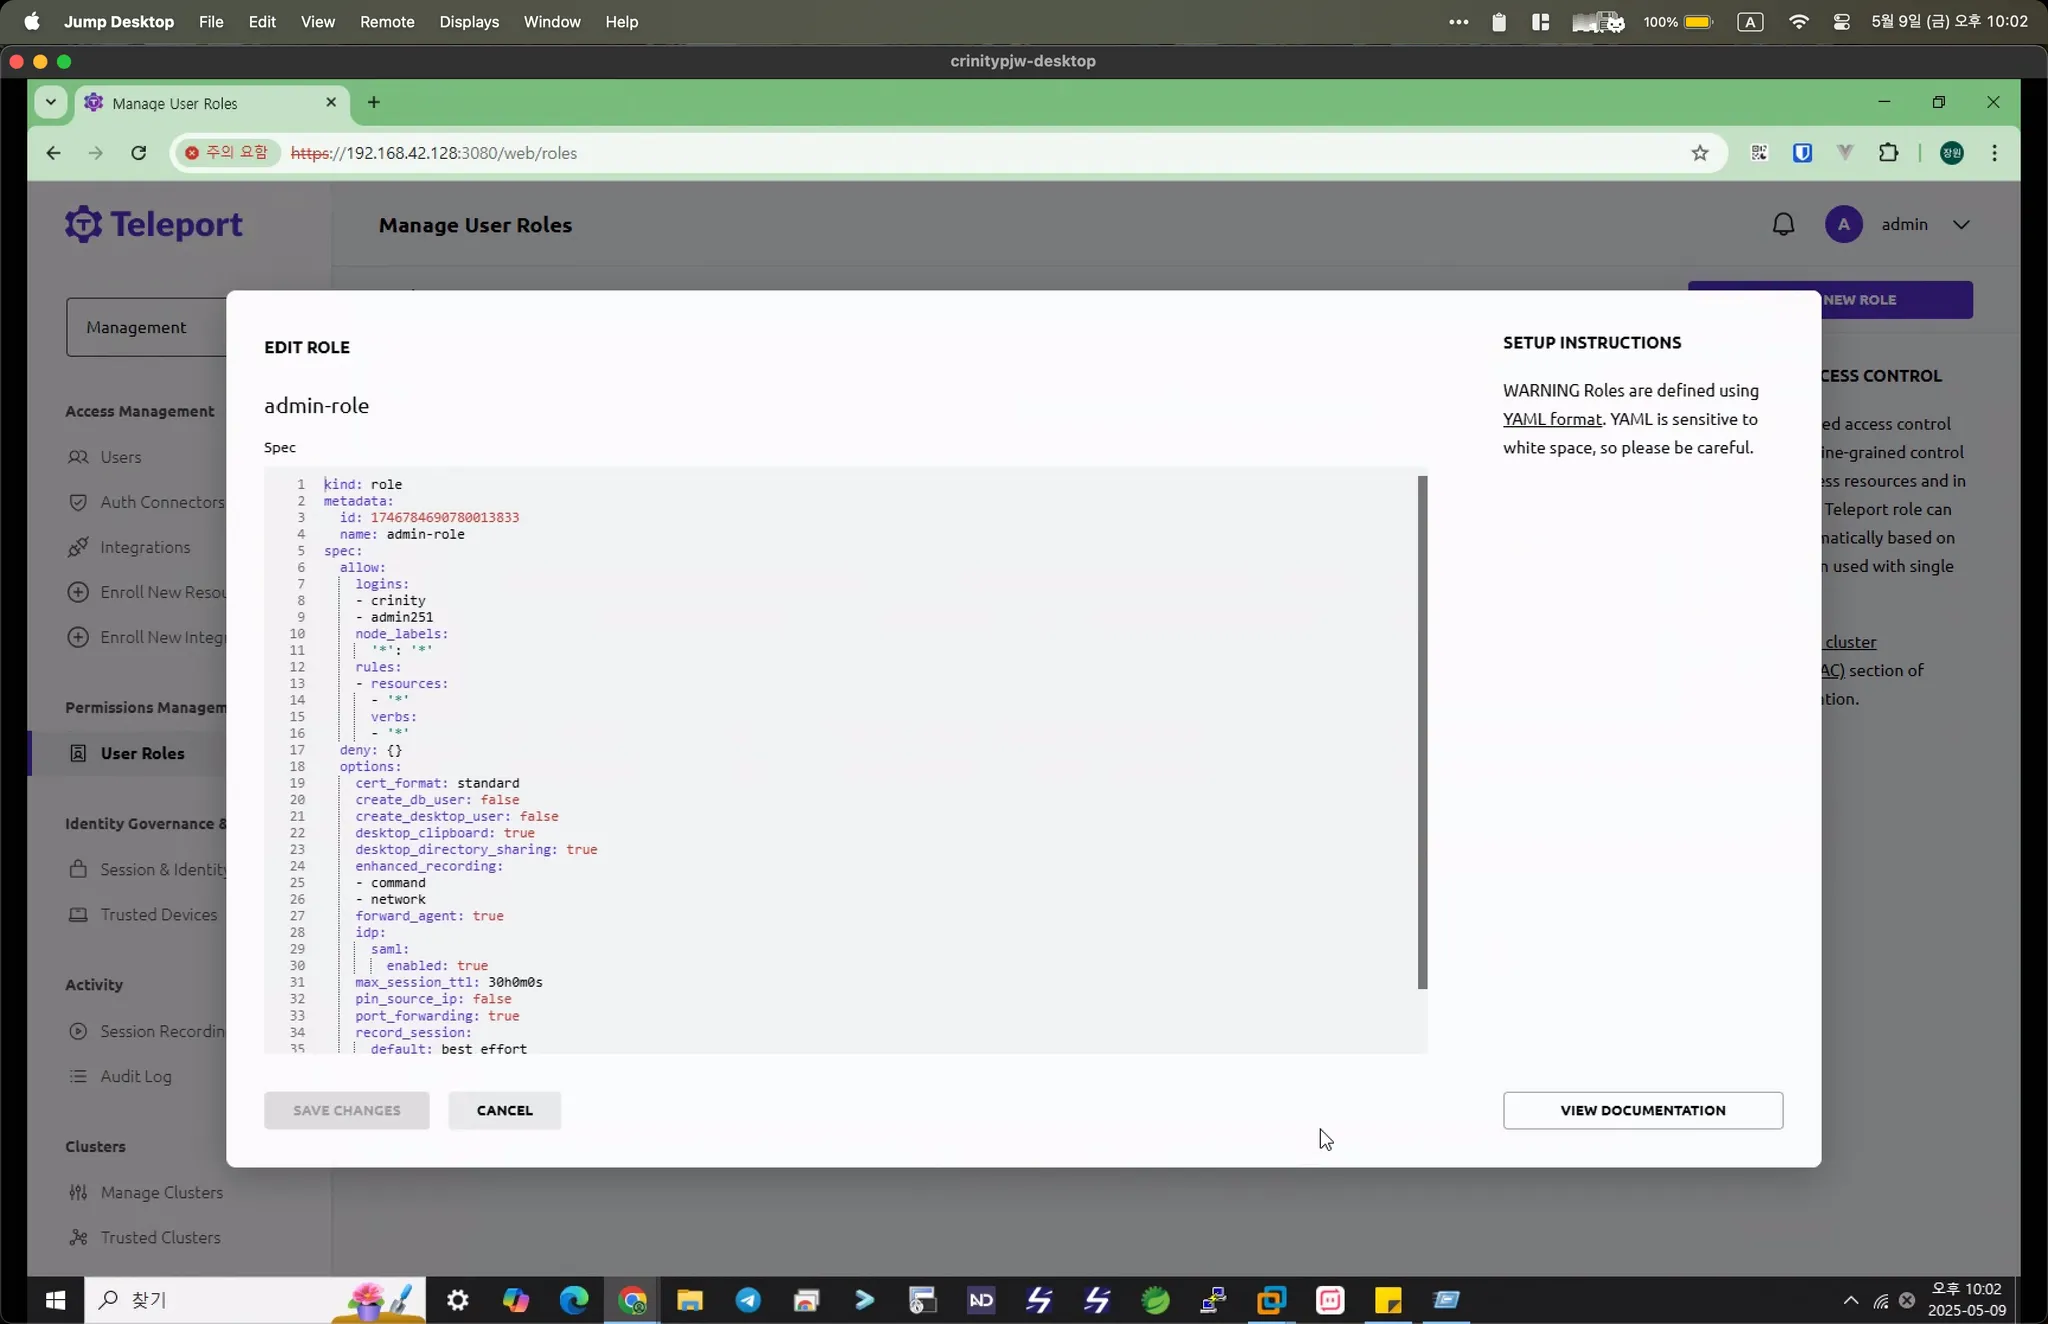
하나의 사용자에 다수의 권한 부여 가능
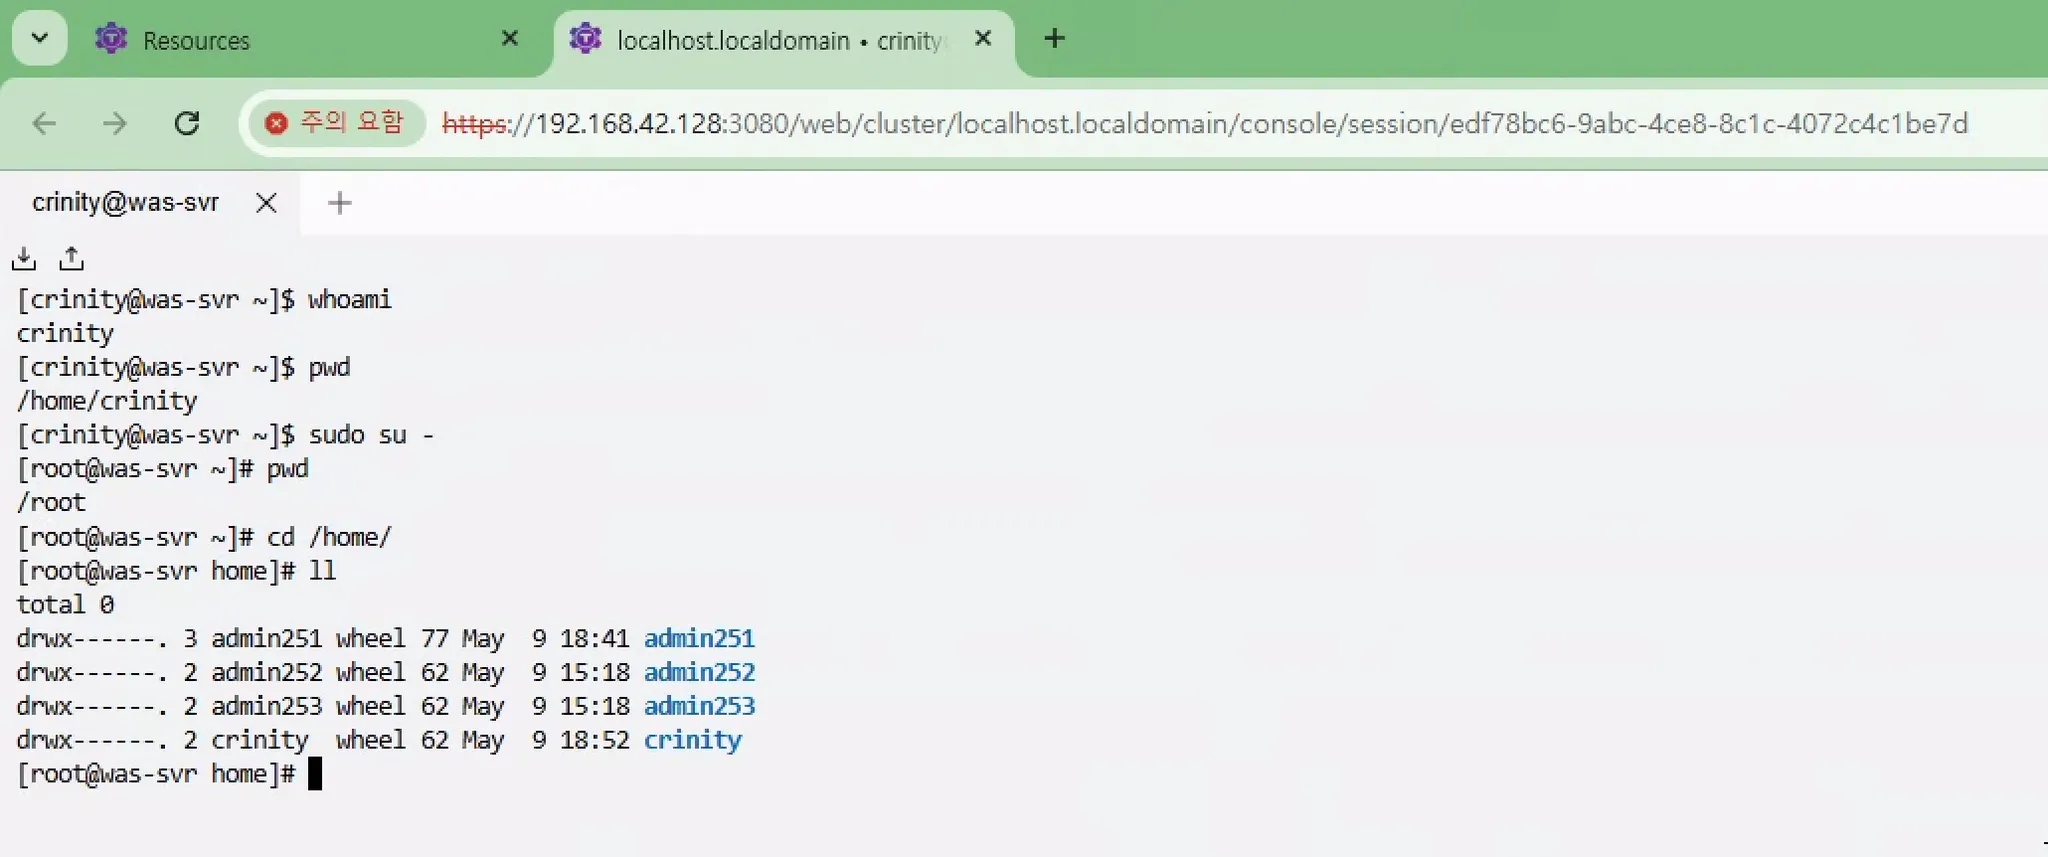
브라우저를 통한 서버 콘솔 접근 가능
텔레포트 커넥트라는 데스크톱 앱도 제공함
텔레포트 커넥트라는 데스크톱 앱도 제공함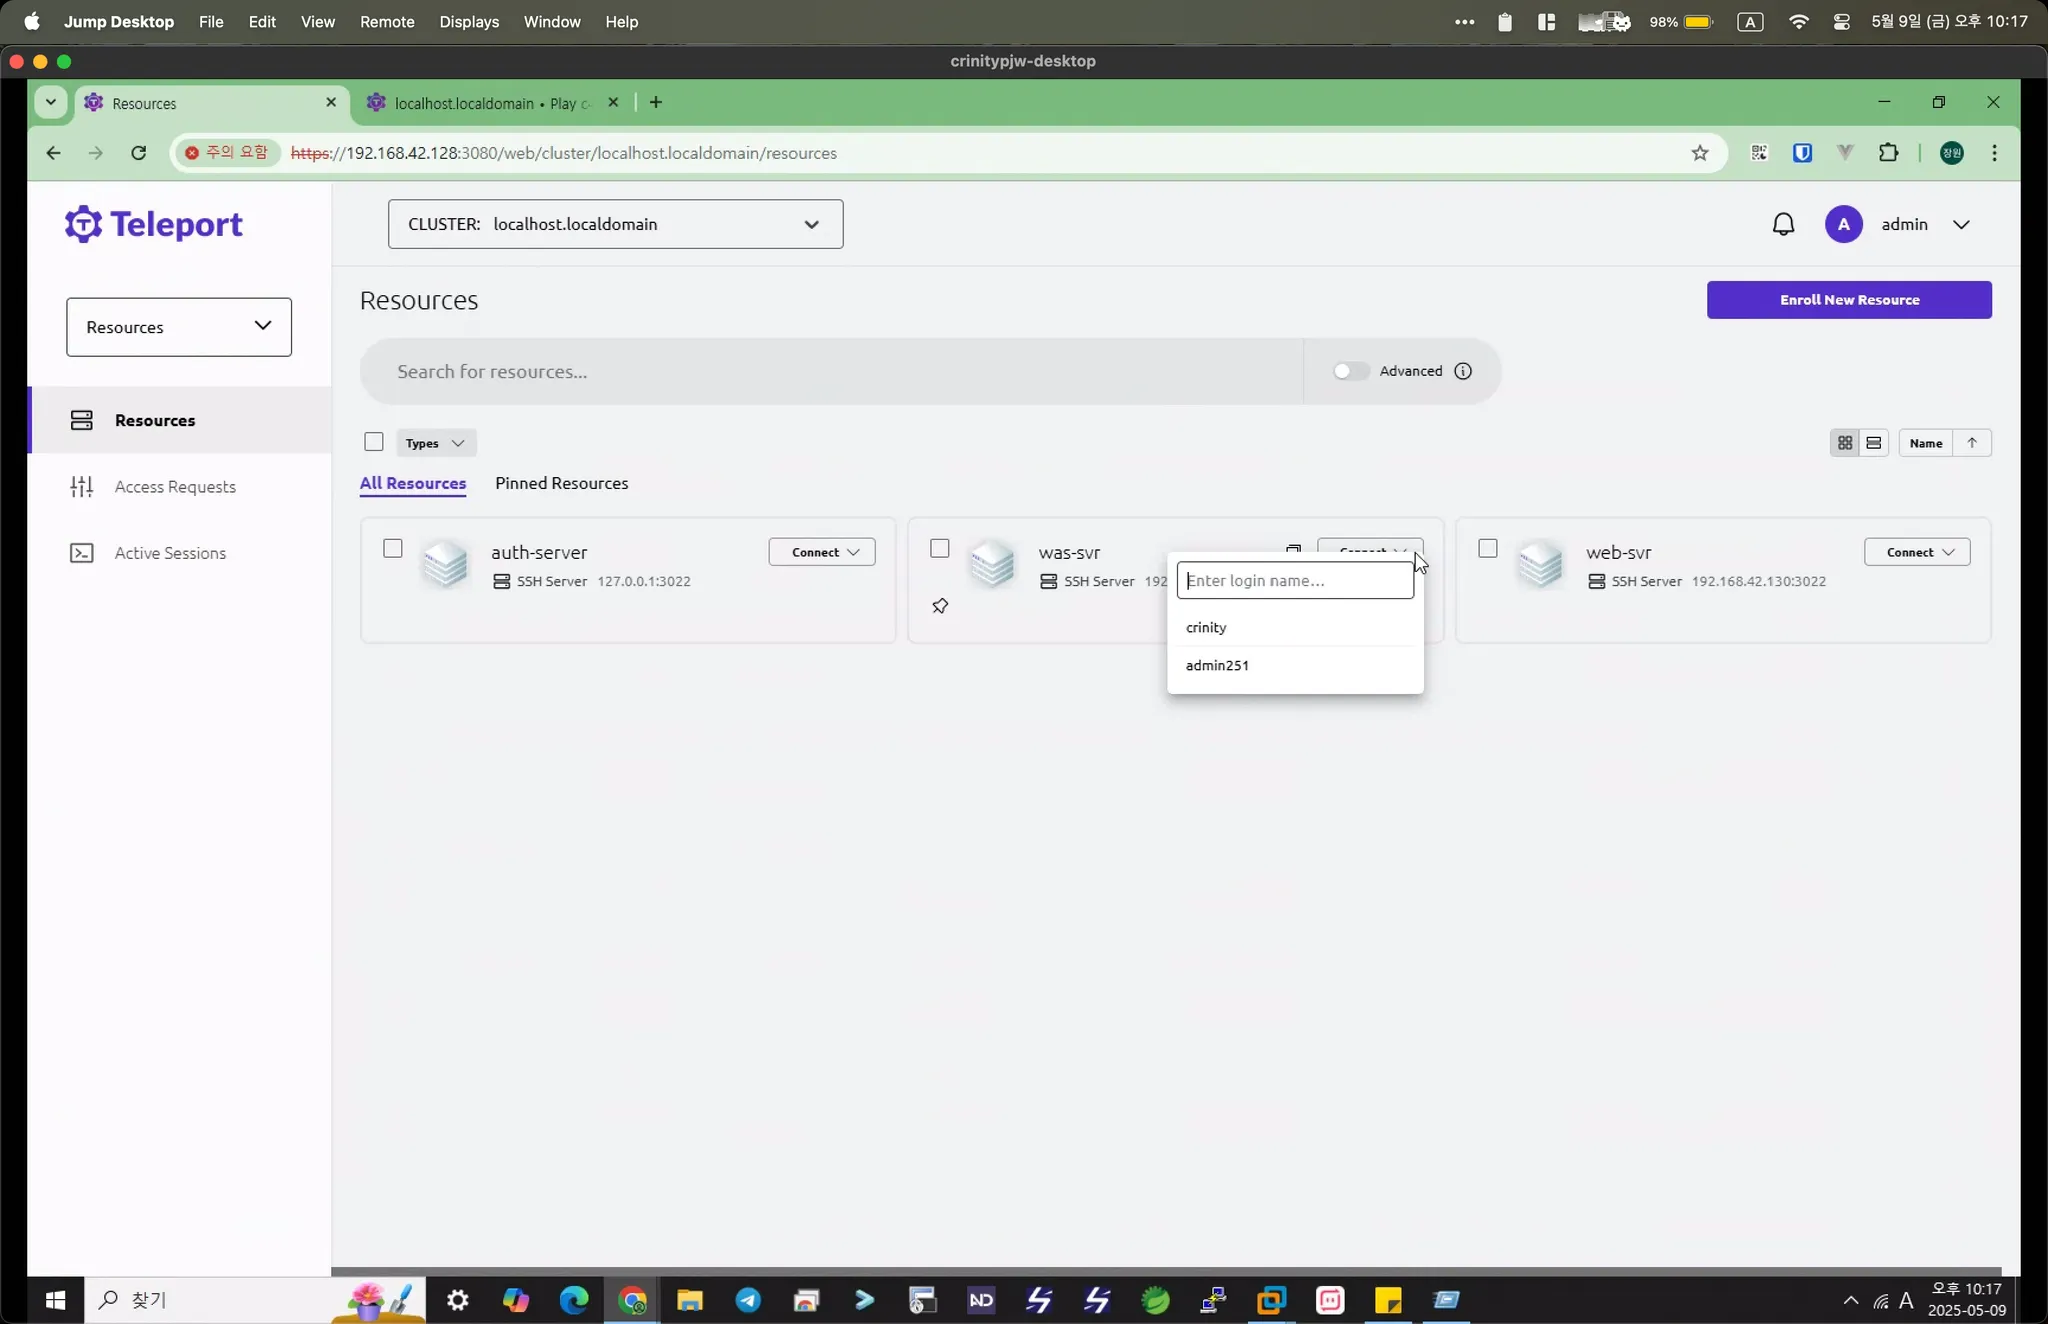
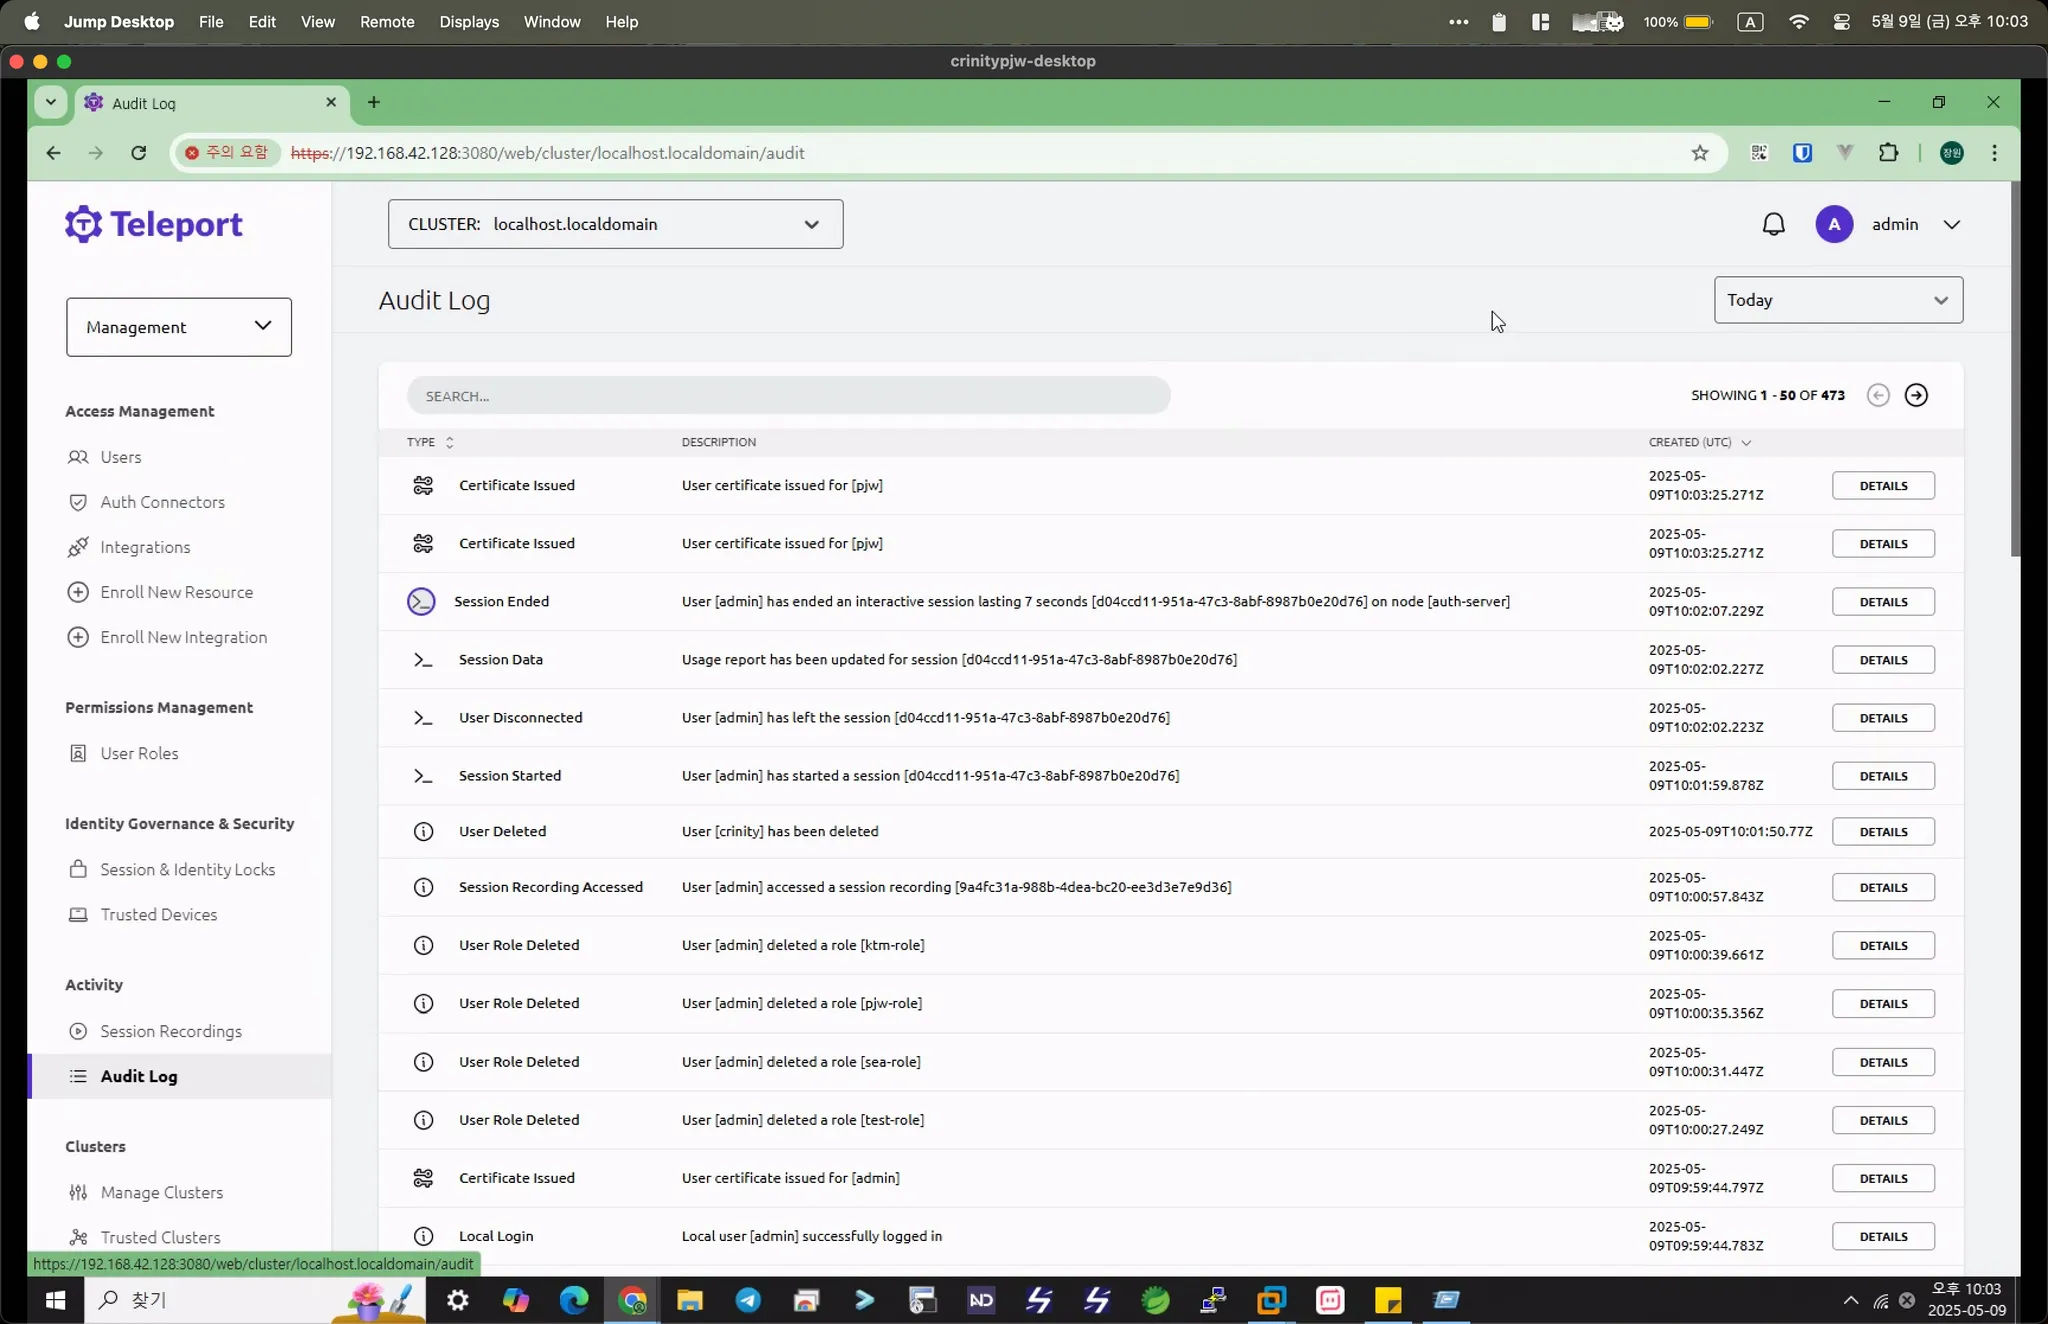
감사 로그 제공
세션 레코딩 기능 제공
텔레포트를 통하여 접근제어를 할 경우, 누가 언제 무엇을 했는지 모두 확인 가능하기 때문에,
굳이 지금처럼 리눅스 계정을 여러개 관리할 필요가 없다.
구성
PC (Client) → Bastion (Auth&Proxy) → VM’s (Node)
Node와 Auth&Proxy 서버 간 통신
1. Node → Auth 서버
•
포트: 3025 (auth_service.listen_addr)
•
프로토콜: HTTPS/gRPC
•
용도:
◦
노드 등록
◦
인증 요청
◦
인증서 갱신
2. Node → Proxy 서버
•
포트: 3024 (tunnel_listen_addr)
•
프로토콜: 역방향 터널 (Reverse Tunnel)
•
용도:
◦
노드가 프록시에 자신을 등록
◦
클라이언트에서 노드로의 연결 중계
전체 통신 흐름
웹브라우저:3080 → Proxy:3023 → Node:22 (SSH)
↕ (역방향터널)
Proxy:3024 ← Node
↓
Auth:3025 (인증/인가)
Plain Text
복사
네트워크 방화벽 설정
# Auth/Proxy 서버
iptables -A INPUT -p tcp --dport 3025 -j ACCEPT# Node → Auth
iptables -A INPUT -p tcp --dport 3024 -j ACCEPT# Node → Proxy (역방향터널)
iptables -A INPUT -p tcp --dport 3080 -j ACCEPT# 웹 브라우저 → Proxy# Node 서버
# Node 서버
iptables -A OUTPUT -p tcp --dport 3025 -j ACCEPT# Node → Auth
iptables -A OUTPUT -p tcp --dport 3024 -j ACCEPT# Node → Proxy
Shell
복사
설치 가이드
Teleport Auth & ProxyService 설치
1.
서비스 운영 계정 설정
adduser iamuser
visudo
iamuser ALL=(ALL) NOPASSWD: ALL
Bash
복사
2.
Teleport 패키지 설치
아래 방식으로 설치할 경우 구 버전(v14)으로 설치가 된다.
dnf install -y dnf-plugins-core
dnf config-manager --add-repo https://rpm.releases.teleport.dev/teleport.repo
dnf install -y teleport
Bash
복사
최신 버전 (v17)로 설치할 경우 아래와 같이 진행한다. (이거로 하자..)
curl https://cdn.teleport.dev/install.sh | bash -s 17.4.10
dnf install teleport -y
Bash
복사
3.
Teleport Auth&Proxy 서버 방화벽 정책
# Teleport Auth&Proxy 서버 방화벽 설정 (firewall-cmd)
# tsh 등 기타 클라이언트 사용하지 않고, 웹브라우저 접속만 허용
# 1. 포트 설정
firewall-cmd --permanent --add-port=3080/tcp # 웹 브라우저 → Proxy
firewall-cmd --permanent --add-port=3025/tcp # Node -> Auth&Proxy API
firewall-cmd --permanent --remove-port=3022/tcp
firewall-cmd --permanent --remove-port=3023/tcp
firewall-cmd --permanent --remove-port=3024/tcp
# 2. 설정 적용
firewall-cmd --reload
# 3. 현재 설정 확인
firewall-cmd --list-ports
Bash
복사
4.
Teleport 설정 파일 작성
/etc/teleport.yaml
teleport:
nodename: auth-server
data_dir: /data/teleport
log:
output: /data/teleport/logs/teleport.log
severity: INFO
auth_service:
enabled: yes
listen_addr: 0.0.0.0:3025 # Auth 서버 API 포트
cluster_name: my-teleport
session_recording: "node-sync" # 세션 레코딩 활성화
authentication:
type: local
second_factor: otp # TOTP 활성화
ssh_service:
enabled: yes
listen_addr: 0.0.0.0:3022 # Auth 서버의 SSH 포트
proxy_service:
enabled: yes
web_listen_addr: 0.0.0.0:3080 # 웹 브라우저 접속
listen_addr: 0.0.0.0:3023 # SSH 터널 포트
tunnel_listen_addr: 0.0.0.0:3024 # 역방향 터널 포트
YAML
복사
•
WebAuthn (passkey :: passwordless) 사용 환경
◦
tsh 등 기타 클라이언트 사용하지 않고, 웹브라우저 접속만 허용
teleport:
nodename: auth-server
data_dir: /data/teleport
log:
output: /data/teleport/logs/teleport.log
severity: INFO
auth_service:
enabled: yes
listen_addr: 127.0.0.1:3025 # Auth 서버 API 포트
cluster_name: my-teleport
session_recording: "node-sync" # 세션 레코딩 활성화
authentication:
type: local
second_factors: ["webauthn","otp"] # WebAuthn과 OTP 모두 활성화
# second_factors: ["webauthn"] # WebAuthn 활성화
webauthn:
rp_id: "local.teleport.com" # POC 환경의 IP 주소
connector_name: passwordless # 패스워드리스 기본 로그인 설정
ssh_service:
enabled: yes
listen_addr: 127.0.0.1:3022 # 내부 접근만 허용하도록 변경
proxy_service:
enabled: yes
web_listen_addr: 0.0.0.0:3080 # 웹 접속을 위해 외부 접근 유지
listen_addr: 127.0.0.1:3023 # 내부 접근만 허용하도록 변경
tunnel_listen_addr: 127.0.0.1:3024 # 내부 접근만 허용하도록 변경
YAML
복사
1.
Teleport 데이터 디렉토리 생성
# 디렉토리 생성
mkdir -p /data/teleport/{logs,data,certs}
mkdir -p /data/teleport/logs/{events,sessions}
# 권한 설정 (teleport 사용자가 소유)
# chown -R teleport:teleport /maildata/teleport
# chmod -R 755 /data/teleport
# 로그 디렉토리는 더 엄격한 권한
# chmod 750 /data/teleport/logs
Bash
복사
6.
Teleport 서비스 시작
# 첫 실행 (설정 검증 포함)
teleport start --config=/etc/teleport.yaml
# 정상 동작 확인 후 서비스로 실행
systemctl enable teleport
systemctl start teleport
Bash
복사
7.
관리자 역할 생성
cat > /tmp/my-role.yaml << 'EOF'
kind: role
version: v5
metadata:
name: my-admin-role
spec:
allow:
logins:
- iamuser
node_labels:
"*": "*"
rules:
- resources: ["*"]
verbs: ["*"]
EOF
tctl create -f /tmp/my-role.yaml --force
Bash
복사
8.
관리자 계정 생성 (zmflslxl)
# tctl users add --roles=editor,access,my-admin-role 관리자로그인아이디
tctl users add --roles=editor,access,my-admin-role zmflslxl
User "password" has been created but requires a password. Share this URL with the user to complete user setup, link is valid for 1h:
https://localhost.localdomain:3080/web/invite/a54ba5849538c63faeaa3eb7aba45ee2
Bash
복사
9.
텔레포트 GUI 접속 후 로그인 설정 진행
# 첫 로그인 과정
1. 브라우저로 생성된 링크 접속
2. 비밀번호 or Passkey 설정
3. TOTP 설정 (Google Authenticator 등)
Bash
복사
스크린샷
Teleport Node 설치
1.
서비스 운영 계정 설정
adduser iamuser
visudo
iamuser ALL=(ALL) NOPASSWD: ALL
Bash
복사
2.
Teleport 패키지 설치
아래 방식으로 설치할 경우 구 버전(v14)으로 설치가 된다.
dnf install -y dnf-plugins-core
dnf config-manager --add-repo https://rpm.releases.teleport.dev/teleport.repo
dnf install -y teleport
Bash
복사
최신 버전 (v17)로 설치할 경우 아래와 같이 진행한다. (이거로 하자..)
curl https://cdn.teleport.dev/install.sh | bash -s 17.4.10
dnf install teleport -y
Bash
복사
3.
Teleport Node 서버 방화벽 정책 허용
# iptables -A OUTPUT -p tcp --dport 3025 -j ACCEPT # Node → Auth
# iptables -A OUTPUT -p tcp --dport 3024 -j ACCEPT # Node → Proxy
firewall-cmd --permanent --add-port=3022/tcp
firewall-cmd --reload
Bash
복사
4.
Teleport 설정 파일 작성
/etc/teleport.yaml
teleport:
# Auth 서버 주소 변경 필요 (example.com을 실제 주소로)
auth_servers:
- auth-server-ip:3025 # Auth 서버의 3025 포트
auth_token: join-token # Auth 서버에서 생성한 토큰으로 입력!
# 기본 경로 사용 (/var/lib/teleport)
# 로그도 기본값 (stderr, journalctl로 확인)
proxy_service:
enabled: no
auth_service:
enabled: no
ssh_service:
enabled: yes
YAML
복사
3.
Teleport 서비스 시작
# 첫 실행 (설정 검증 포함)
teleport start --config=/etc/teleport.yaml
# 정상 동작 확인 후 서비스로 실행
systemctl enable teleport
systemctl start teleport
Bash
복사
Teleport Auth&Proxy 와 Node 서버 연동
1.
Join 토큰 생성 :: Teleport Auth&Proxy
# Auth 서버에서 토큰 생성
tctl nodes add --ttl=1h
Bash
복사
•
Output
The invite token: 7f18091e308e1bb1b7f1bfa0f84b3e9e
This token will expire in 60 minutes.
Install and start teleport with the following on the target node:
> teleport start \
--roles=node \
--token=7f18091e308e1bb1b7f1bfa0f84b3e9e \
--ca-pins=sha256:7e12c17c20d9cb504bbcb3f0236be3f446861f1396dcbb44425fe28ec1c108cb \
--auth-server=10.0.1.100:3025
Bash
복사
2.
Node Join :: Teleport Node
# 새 VM에서 실행
teleport start \
--roles=node \
--token=7f18091e308e1bb1b7f1bfa0f84b3e9e \
--ca-pins=sha256:7e12c17c20d9cb504bbcb3f0236be3f446861f1396dcbb44425fe28ec1c108cb \
--auth-server=10.0.1.100:3025
Bash
복사
3.
Node 확인 :: Teleport Auth&Proxy
# 새 노드가 잘 추가되었는지 확인
tctl nodes ls
# 특정 노드 상세 정보
tctl get node/새노드명
Bash
복사
Issue :: Teleport UI에서 서버 접속 시 연결 안되었을 때
disconnected
Teleport proxy failed to connect to "node" agent "192.168.67.129:3022" over direct dial:
dial tcp 192.168.67.129:3022: connect: no route to host
This usually means that the agent is offline or has disconnected. Check the
agent logs and, if the issue persists, try restarting it or re-registering it
with the cluster.
Bash
복사
•
Teleport Auth & Proxy 리슨 포트 확인
[root@teleport-svr etc]# netstat -tnlp | grep LISTEN | grep teleport
tcp 0 0 127.0.0.1:3024 0.0.0.0:* LISTEN 419389/teleport
tcp 0 0 127.0.0.1:3022 0.0.0.0:* LISTEN 419389/teleport
tcp 0 0 127.0.0.1:3023 0.0.0.0:* LISTEN 419389/teleport
tcp6 0 0 :::3080 :::* LISTEN 419389/teleport
tcp6 0 0 :::3025 :::* LISTEN 419389/teleport
Bash
복사
•
Teleport Auth & Proxy 방화벽 설정
[root@teleport-svr etc]# firewall-cmd --list-all
public (active)
target: default
icmp-block-inversion: no
interfaces: ens160
sources:
services: cockpit dhcpv6-client ssh
ports: 3080/tcp 3025/tcp
protocols:
forward: yes
masquerade: no
forward-ports:
source-ports:
icmp-blocks:
rich rules:
rule family="ipv4" source address="192.168.250.0/24" accept
Bash
복사
•
Teleport Node 리슨 포트 확인
[root@was-svr etc]# netstat -tnlp | grep LISTEN | grep teleport
tcp6 0 0 :::3022 :::* LISTEN 18700/teleport
Bash
복사
•
Teleport Node 방화벽 설정
[root@was-svr etc]# firewall-cmd --list-all
public (active)
target: default
icmp-block-inversion: no
interfaces: ens160
sources:
services: cockpit dhcpv6-client ssh
ports: 3022/tcp
protocols:
forward: yes
masquerade: no
forward-ports:
source-ports:
icmp-blocks:
rich rules:
Bash
복사