1. 패키지 설치
•
자바 설치 :: 젠킨스 또한 자바로 작성된 웹 어플리케이션입니다.
[Rocky]
[root@dev-web ~]# dnf install -y java-17-openjdk.x86_64
[Ubuntu]
root@kisti-mail-manager-01[~]$ apt install openjdk-17-jdk
Bash
복사
•
dnf 커맨드 매니저 설치
[root@dev-web ~]# dnf install -y 'dnf-command(config-manager)'
Bash
복사
•
Jenkins GPG Key 설치
[root@dev-web ~]# rpm --import https://pkg.jenkins.io/redhat-stable/jenkins.io-2023.key
[root@dev-web ~]# dnf clean packages
Bash
복사
•
Jenkins repo 등록
[root@dev-web ~]# dnf config-manager --add-repo https://pkg.jenkins.io/redhat-stable/jenkins.repo
Bash
복사
•
Jenkins 설치
[root@dev-web ~]# dnf install -y jenkins
Bash
복사
2. Jenkins 서버 실행
•
패키지 매니저로 설치 시 기본 설치 경로는 /var/lib/jenkins 입니다.
[root@dev-web ~]# systemctl start jenkins
[root@dev-web ~]# systemctl status jenkins
● jenkins.service - Jenkins Continuous Integration Server
Loaded: loaded (/usr/lib/systemd/system/jenkins.service; disabled; vendor preset: disabled)
Active: inactive (dead)
[root@dev-web ~]# systemctl start jenkins
[root@dev-web ~]# systemctl status jenkins
● jenkins.service - Jenkins Continuous Integration Server
Loaded: loaded (/usr/lib/systemd/system/jenkins.service; disabled; vendor preset: disabled)
Active: active (running) since Thu 2024-01-04 17:52:24 KST; 9s ago
Main PID: 2489 (java)
Tasks: 44 (limit: 10860)
Memory: 390.1M
CGroup: /system.slice/jenkins.service
└─2489 /usr/bin/java -Djava.awt.headless=true -jar /usr/share/java/jenkins.war --webroot=/var/cache/jenkins/war --httpPort=8080
1월 04 17:51:50 dev-web jenkins[2489]: Jenkins initial setup is required. An admin user has been created and a password generated.
1월 04 17:51:50 dev-web jenkins[2489]: Please use the following password to proceed to installation:
1월 04 17:51:50 dev-web jenkins[2489]: c55dfdcb0ca84cfdb8ddcda5ebe0f0fe
1월 04 17:51:50 dev-web jenkins[2489]: This may also be found at: /var/lib/jenkins/secrets/initialAdminPassword
1월 04 17:51:50 dev-web jenkins[2489]: *************************************************************
1월 04 17:52:24 dev-web jenkins[2489]: 2024-01-04 08:52:24.915+0000 [id=31] INFO jenkins.InitReactorRunner$1#onAttained: Completed initialization
1월 04 17:52:24 dev-web jenkins[2489]: 2024-01-04 08:52:24.943+0000 [id=24] INFO hudson.lifecycle.Lifecycle#onReady: Jenkins is fully up and running
1월 04 17:52:24 dev-web systemd[1]: Started Jenkins Continuous Integration Server.
1월 04 17:52:25 dev-web jenkins[2489]: 2024-01-04 08:52:25.544+0000 [id=47] INFO h.m.DownloadService$Downloadable#load: Obtained the updated data file for hudson.ta>
1월 04 17:52:25 dev-web jenkins[2489]: 2024-01-04 08:52:25.544+0000 [id=47] INFO hudson.util.Retrier#start: Performed the action check updates server successfully a>
Bash
복사
•
Jenkins의 기본 TCP Port는 8080입니다.
[root@dev-web ~]# netstat -tnlp | grep LISTEN
tcp 0 0 0.0.0.0:22 0.0.0.0:* LISTEN 911/sshd
tcp6 0 0 :::22 :::* LISTEN 911/sshd
tcp6 0 0 :::8080 :::* LISTEN 2489/java
Bash
복사
3. Jenkins 관리 콘솔 접속 및 기본 설정
•
VM 환경인 경우, Jenkins 설치 VM의 사설 IP로 접속합니다.
[root@dev-web ~]# ifconfig
ens160: flags=4163<UP,BROADCAST,RUNNING,MULTICAST> mtu 1500
inet 192.168.88.129 netmask 255.255.255.0 broadcast 192.168.88.255
inet6 fe80::20c:29ff:fe0c:bfff prefixlen 64 scopeid 0x20<link>
ether 00:0c:29:0c:bf:ff txqueuelen 1000 (Ethernet)
RX packets 232661 bytes 322507969 (307.5 MiB)
RX errors 0 dropped 0 overruns 0 frame 0
TX packets 91536 bytes 6504042 (6.2 MiB)
TX errors 0 dropped 0 overruns 0 carrier 0 collisions 0
Bash
복사
•
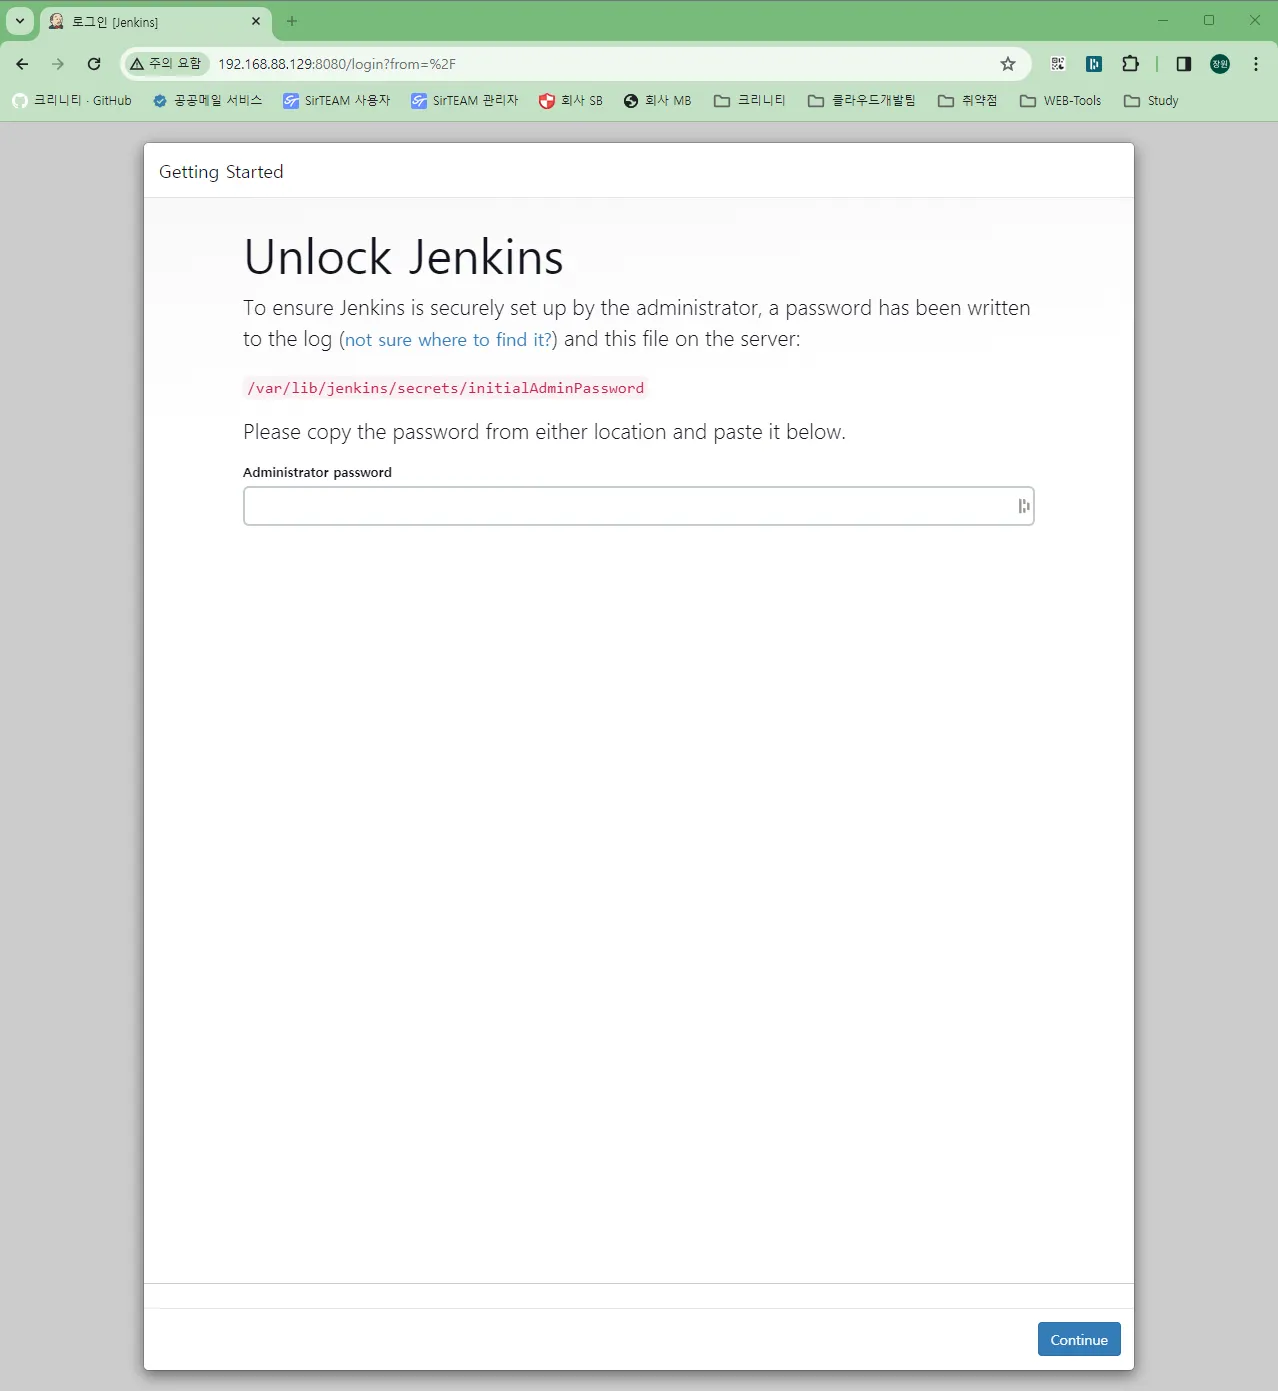
처음 웹 페이지에 접속을 하면 통합 관리자를 활성화하라고 안내가 나옵니다.
•
Jenkin 서버에 저장되어 있는 기본 비밀번호를 입력하여 관리자 계정을 활성화 합니다.
[root@dev-web ~]# cat /var/lib/jenkins/secrets/initialAdminPassword
c55dfdcb0ca84cfdb8ddcda5ebe0f0fe
Bash
복사
•
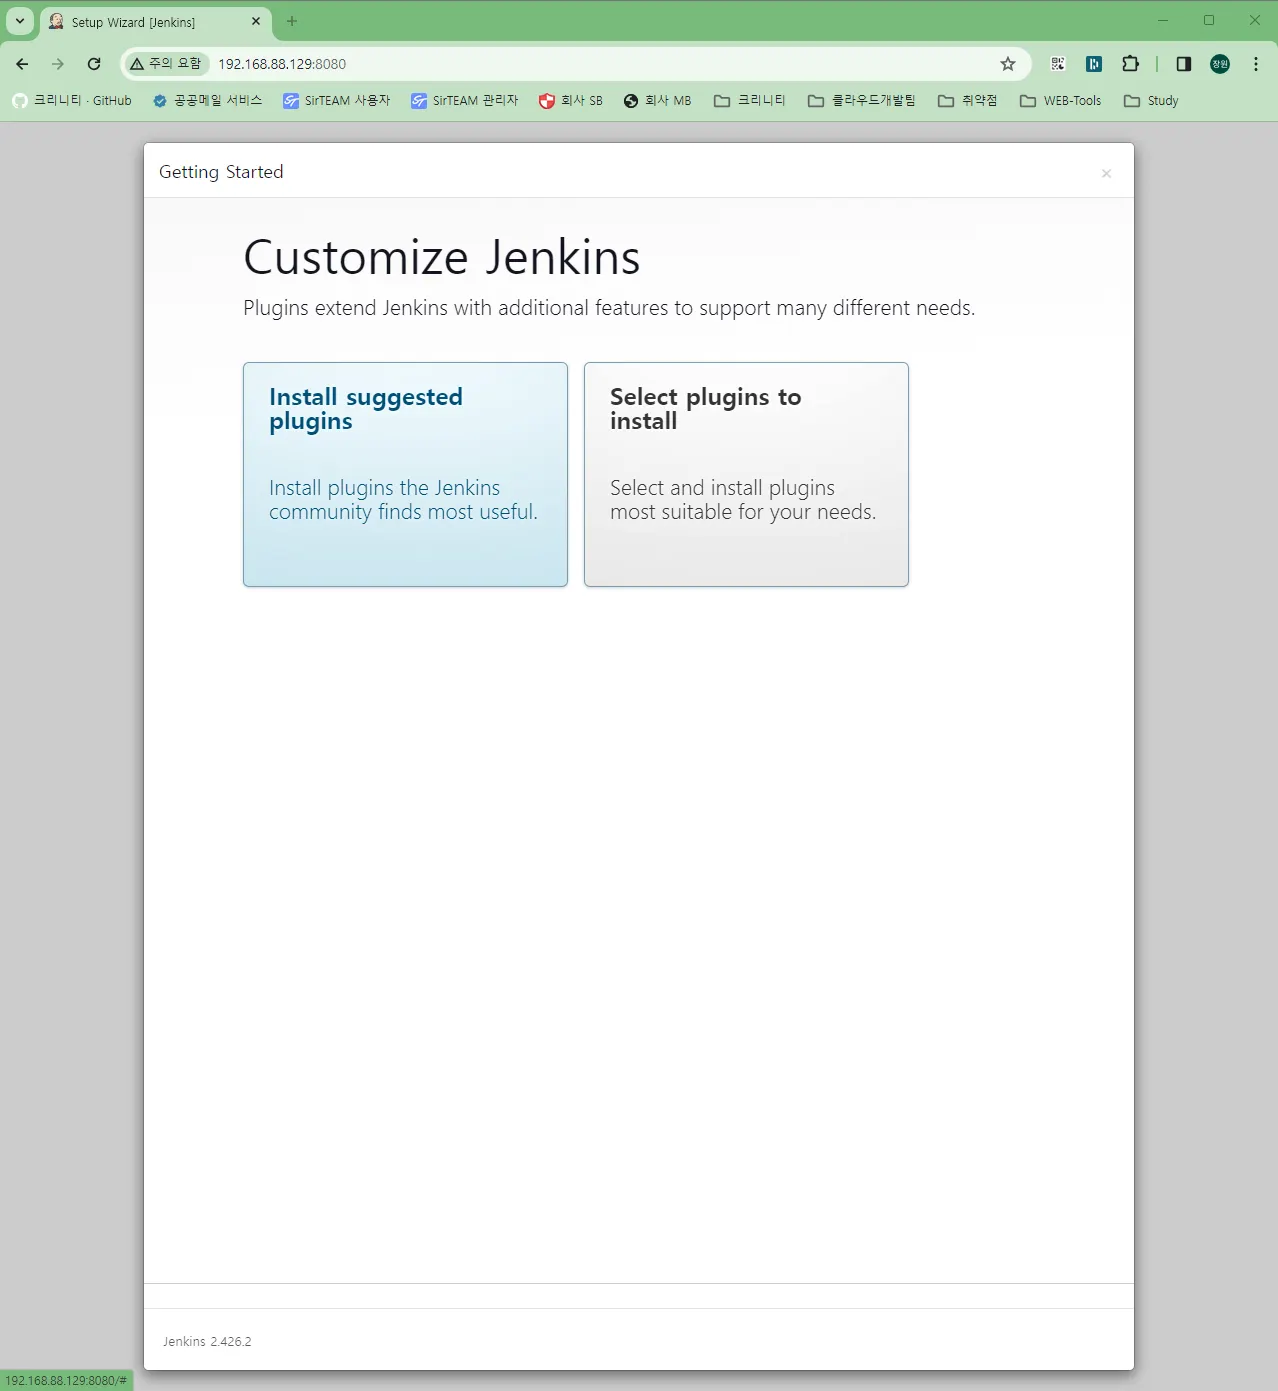
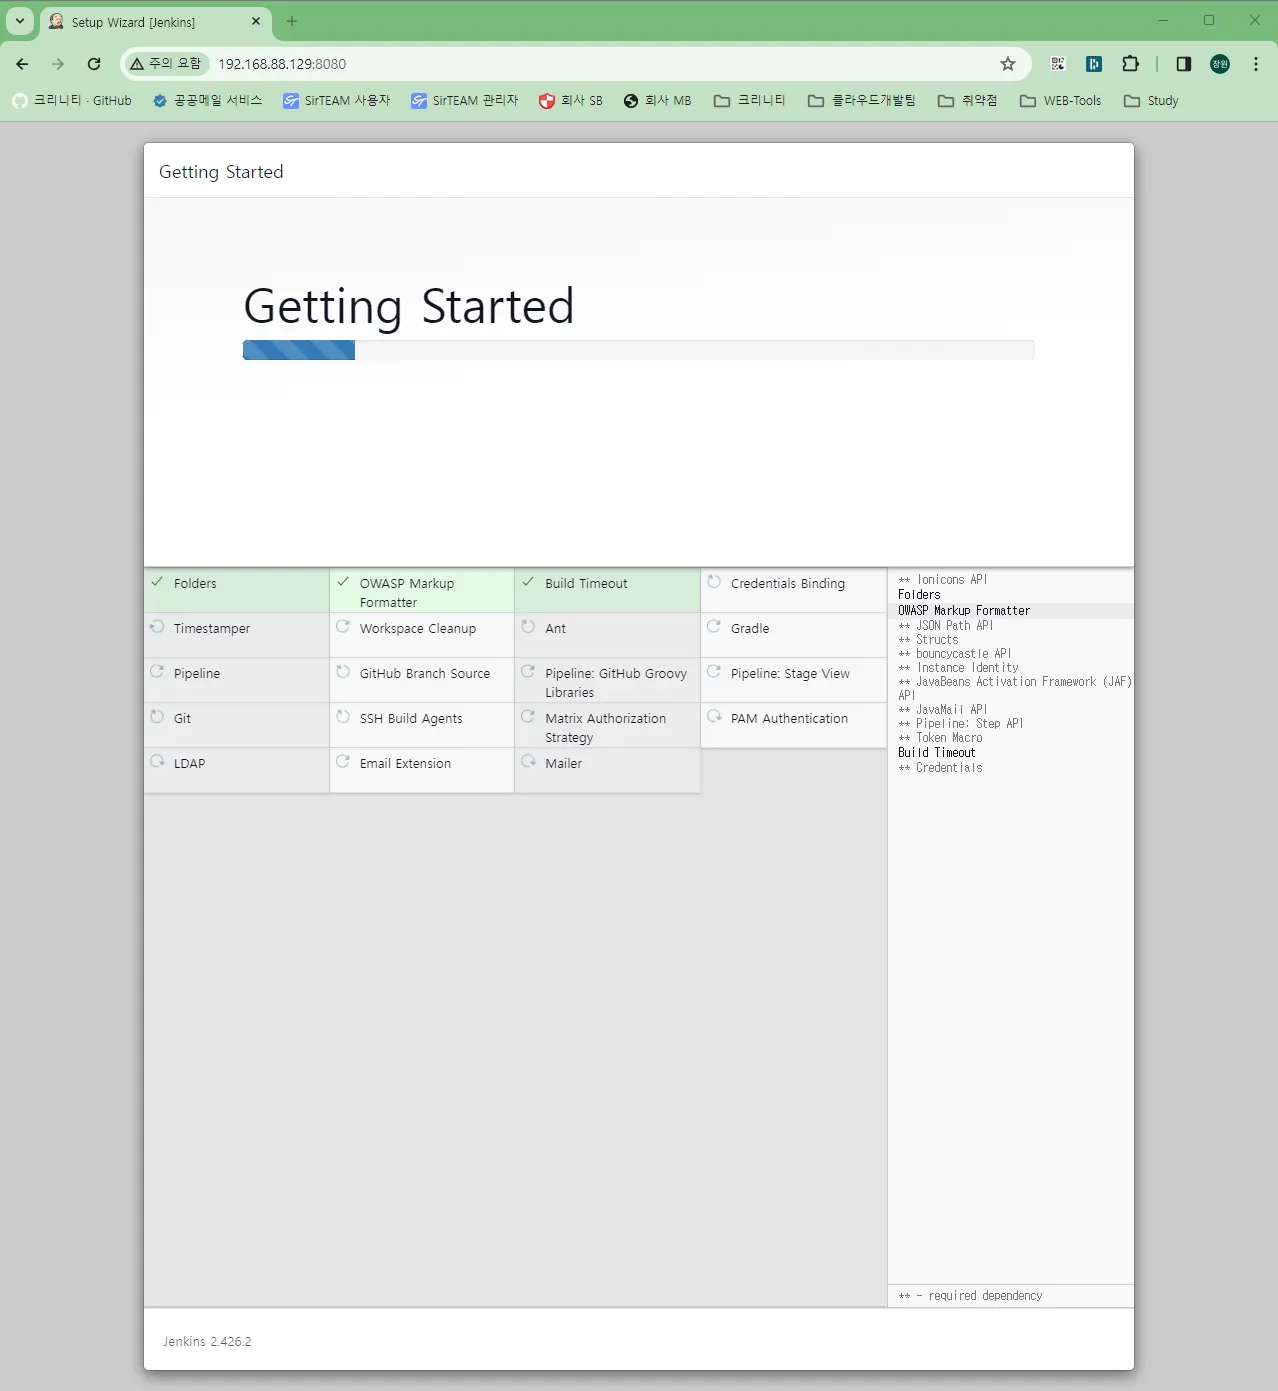
저는 Jenkins에서 제안하는 기본 플러그인만 설치하겠습니다.
……….
……….
•
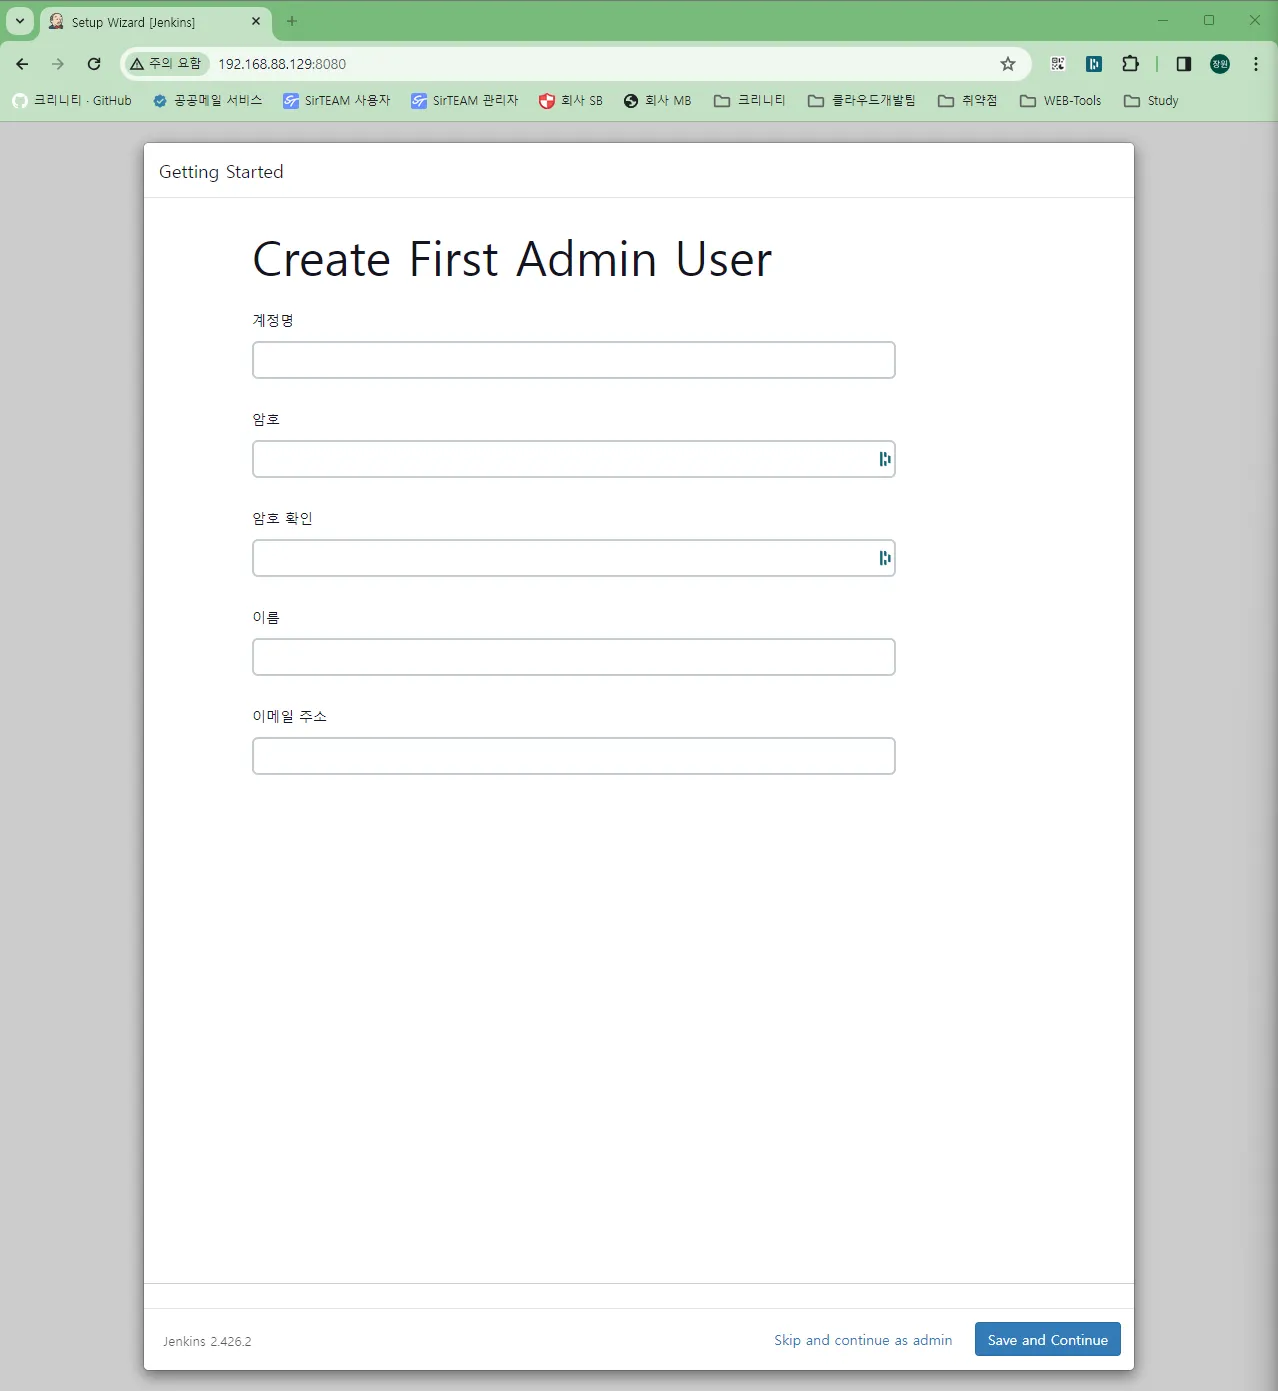
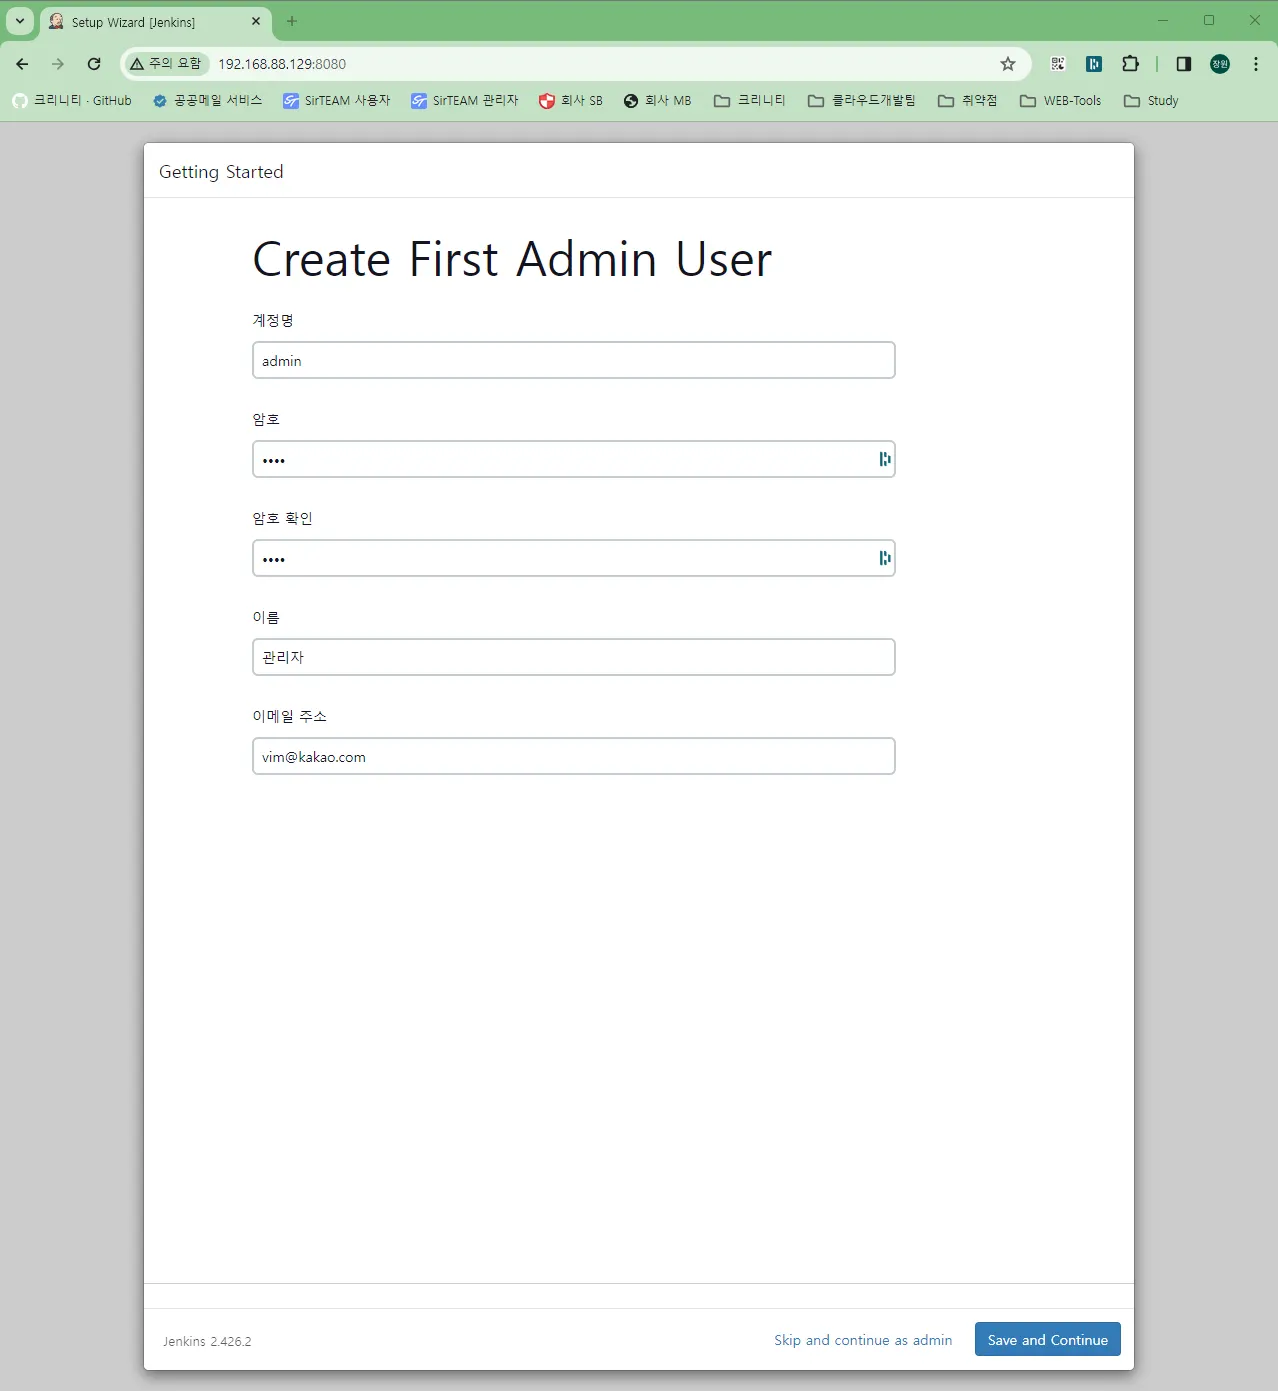
설치가 완료되면 아래와 같이 관리자 계정 설정을 진행합니다.
•
저는 운영환경이 아니기 때문에 적당히 세팅했습니다.
•
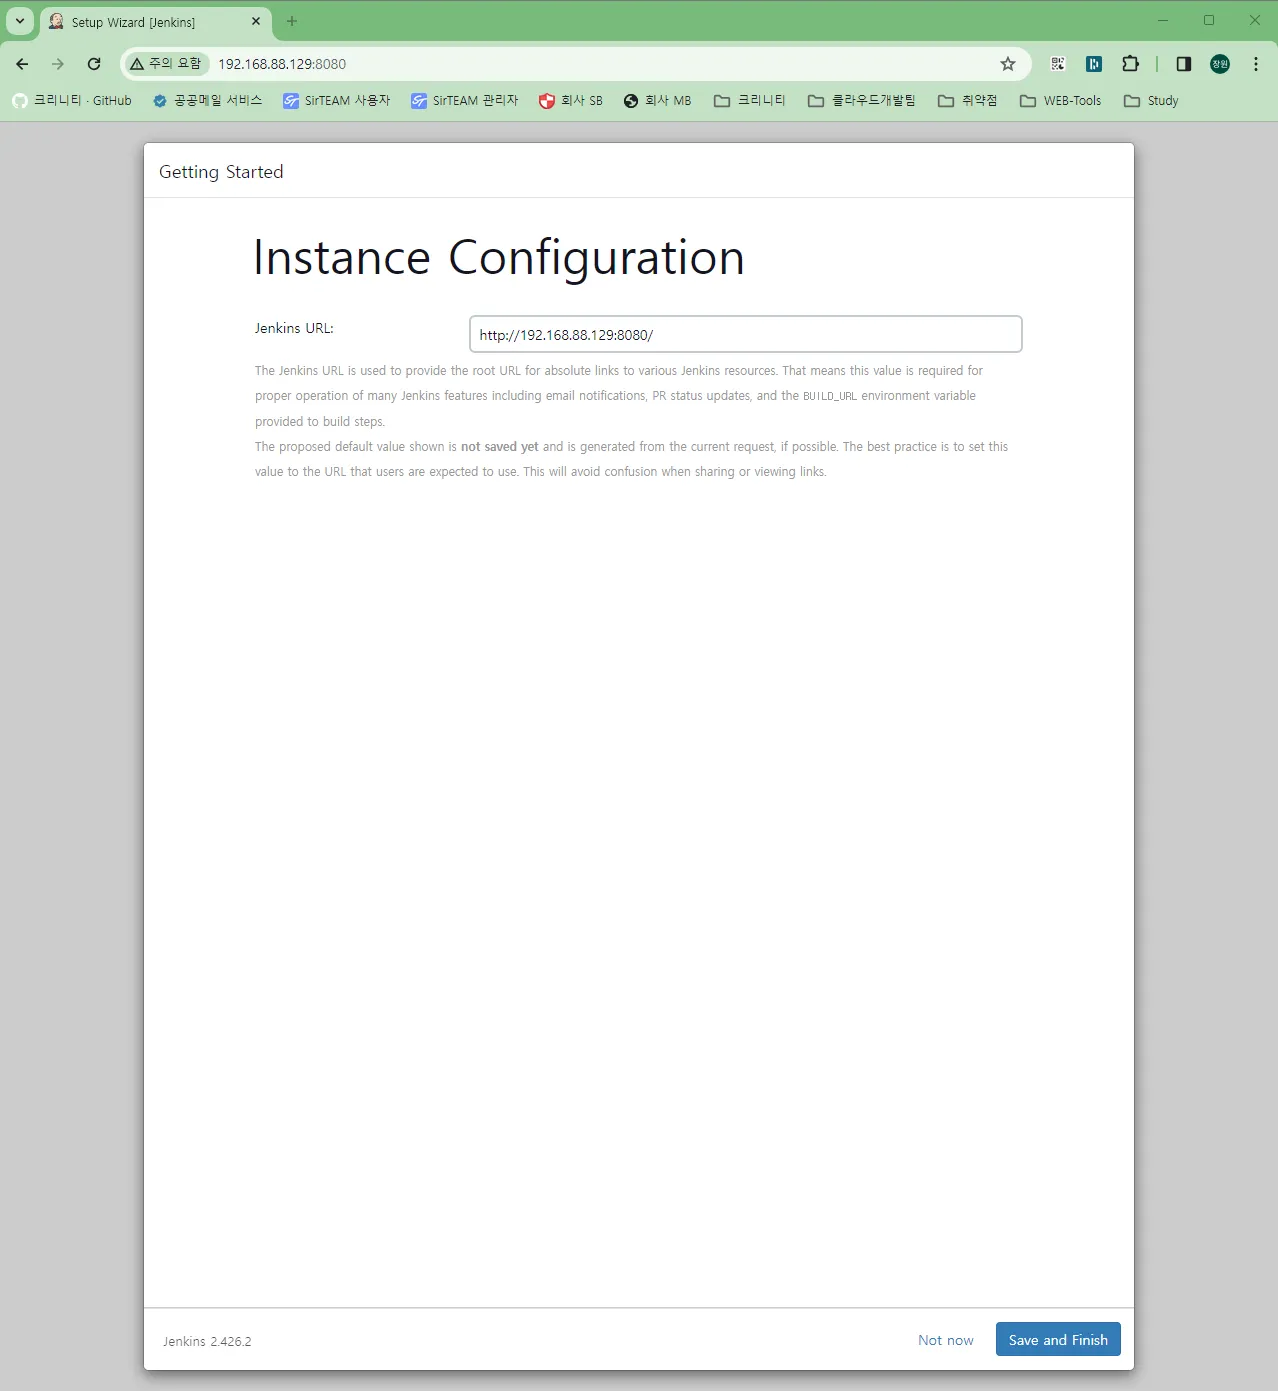
Jenkins 서버에 도메인 세팅이 필요하신 경우 설정합니다. 저는 SKIP~
•
Start using Jenkins 버튼을 클릭합니다.
•
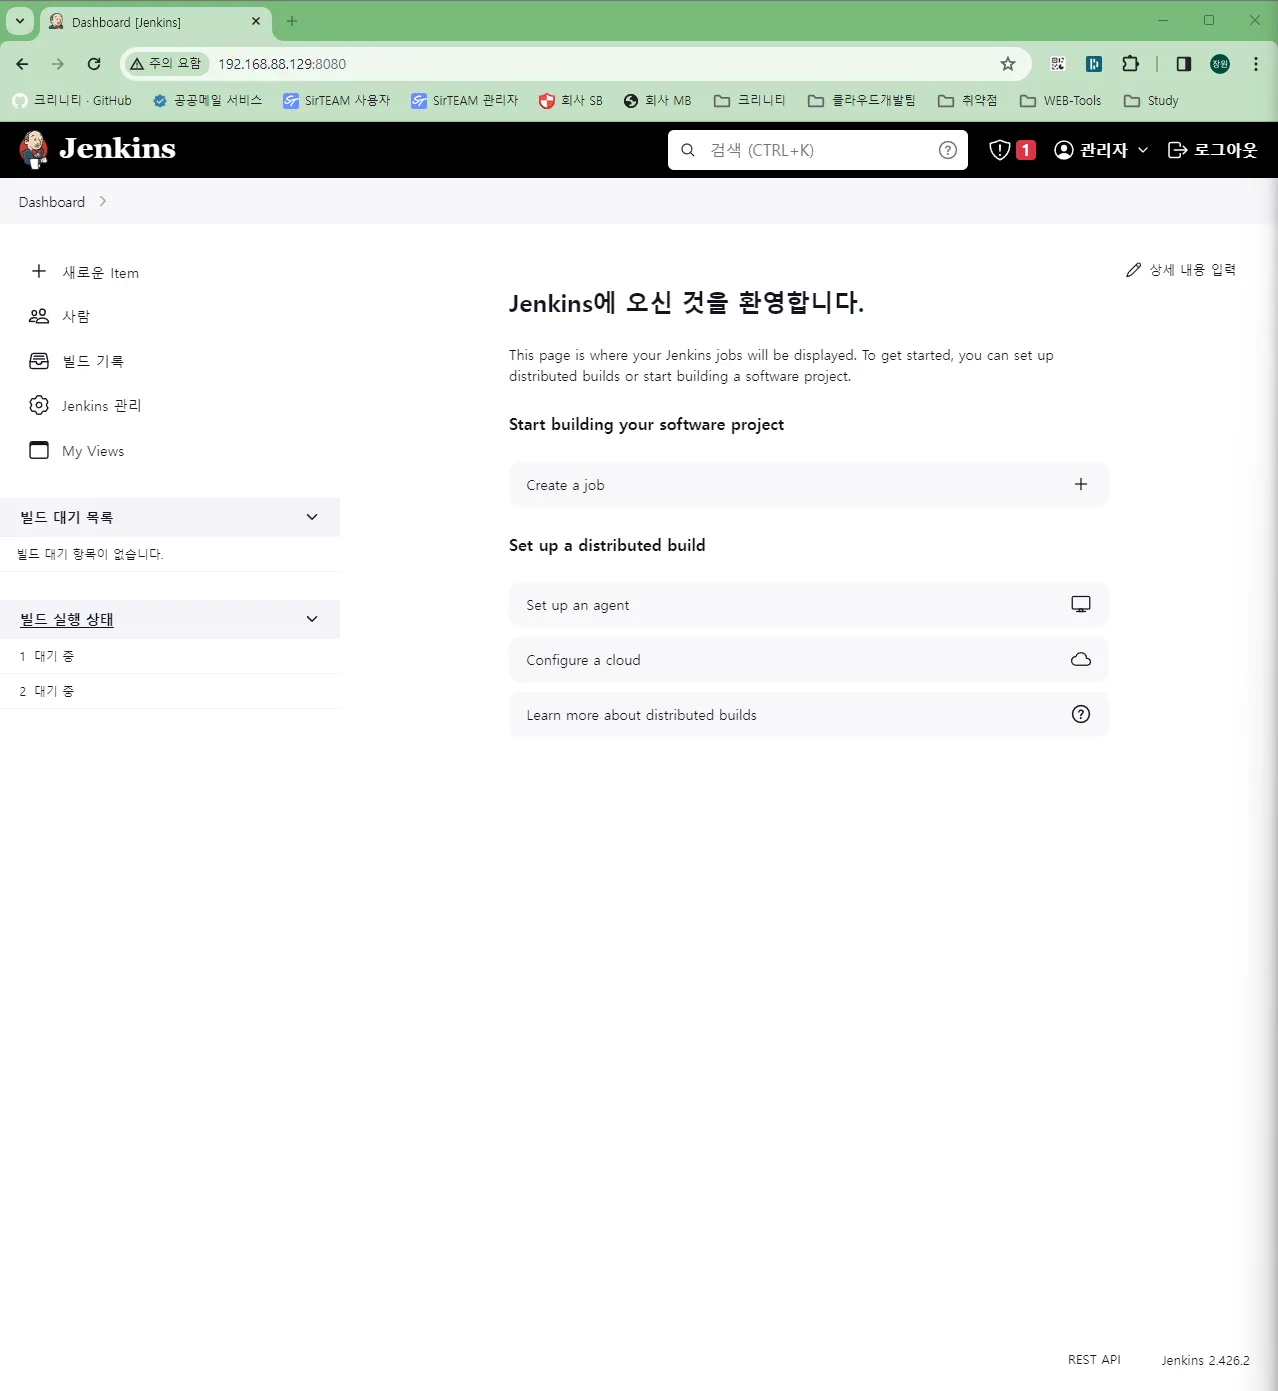
드디어 메인 화면이 나왔습니다~ 기본 설치가 완료되었습니다.
4. Tools 설정
•
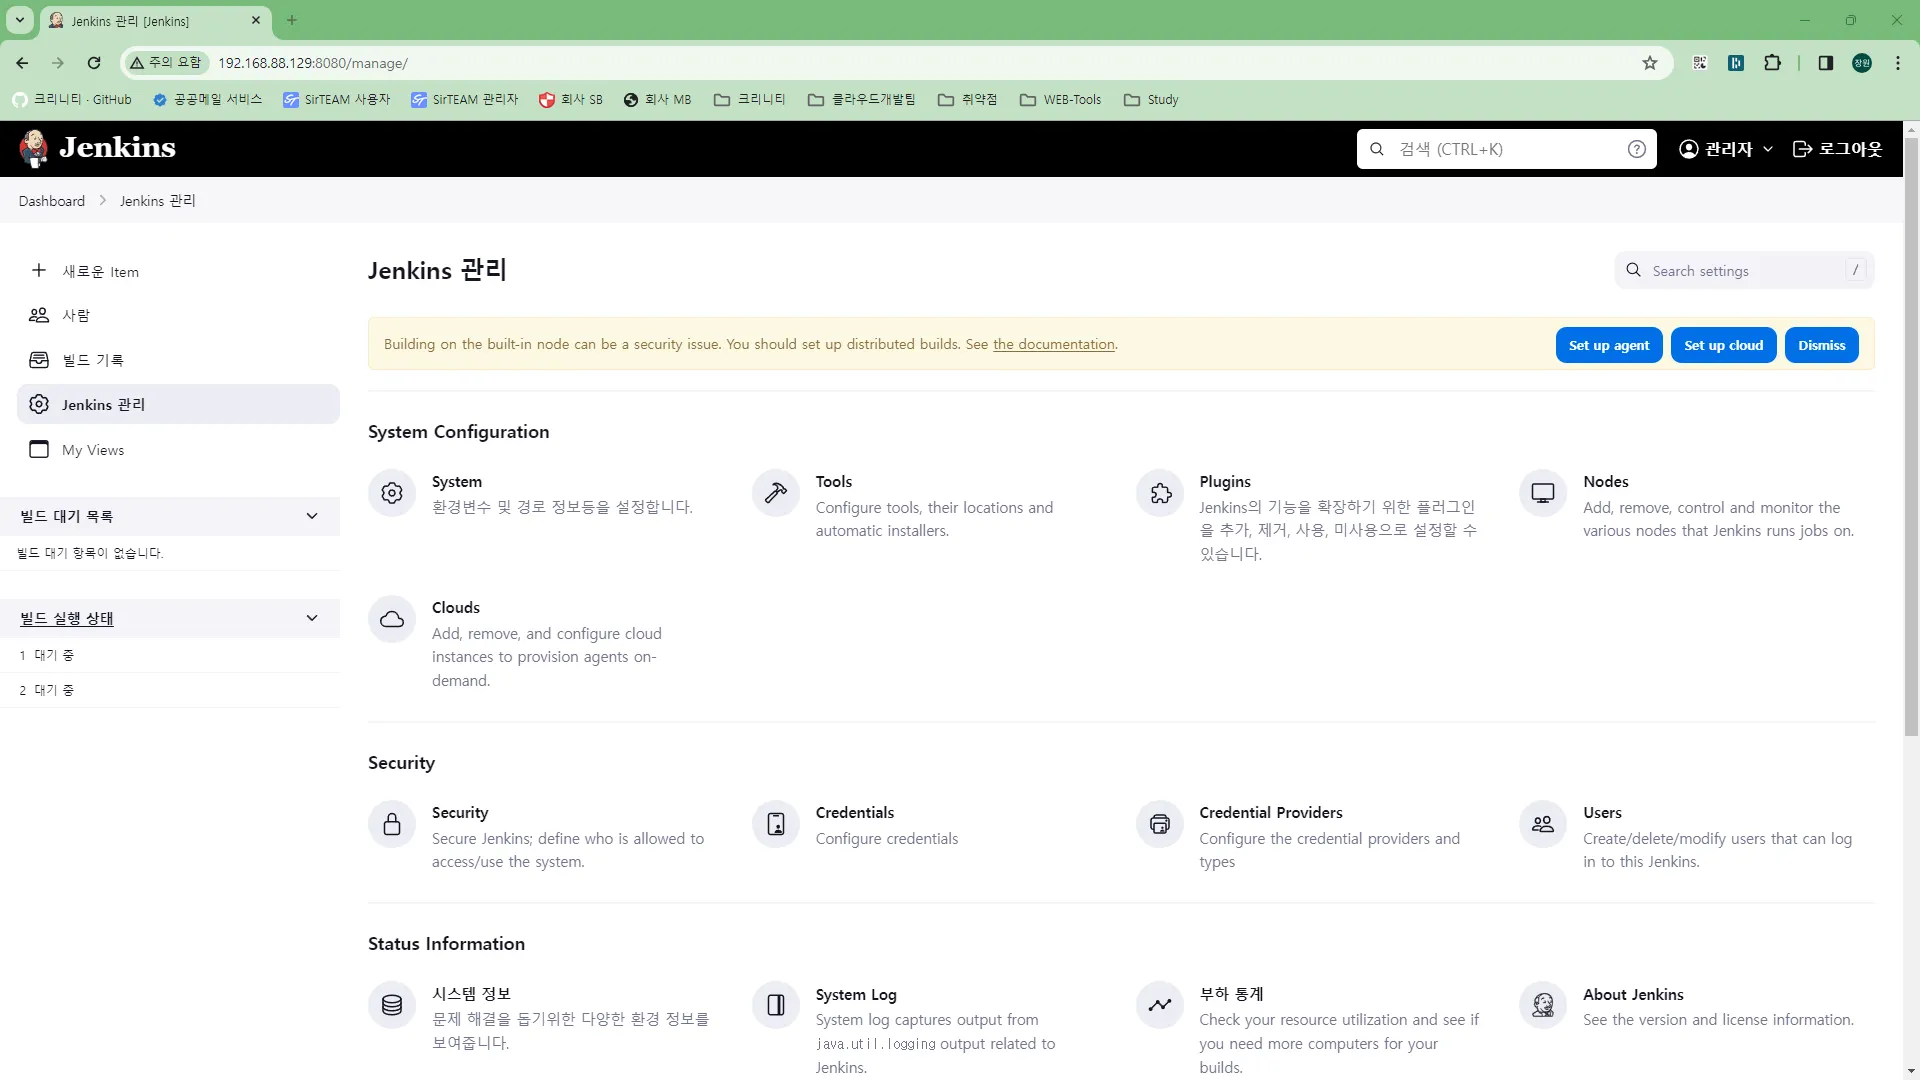
Dashboard → Jenkins 관리 → Tools
젠킨스 서버에서 소스를 체크아웃 받고, 빌드를 할 수 있도록 개발 도구를 설정하는 메뉴입니다.
Markdown
복사
1. Maven
•
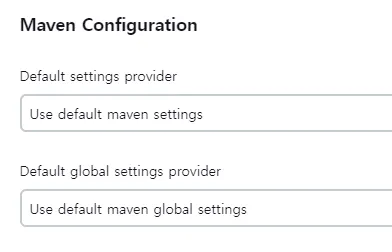
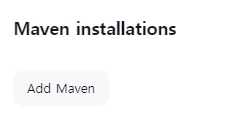
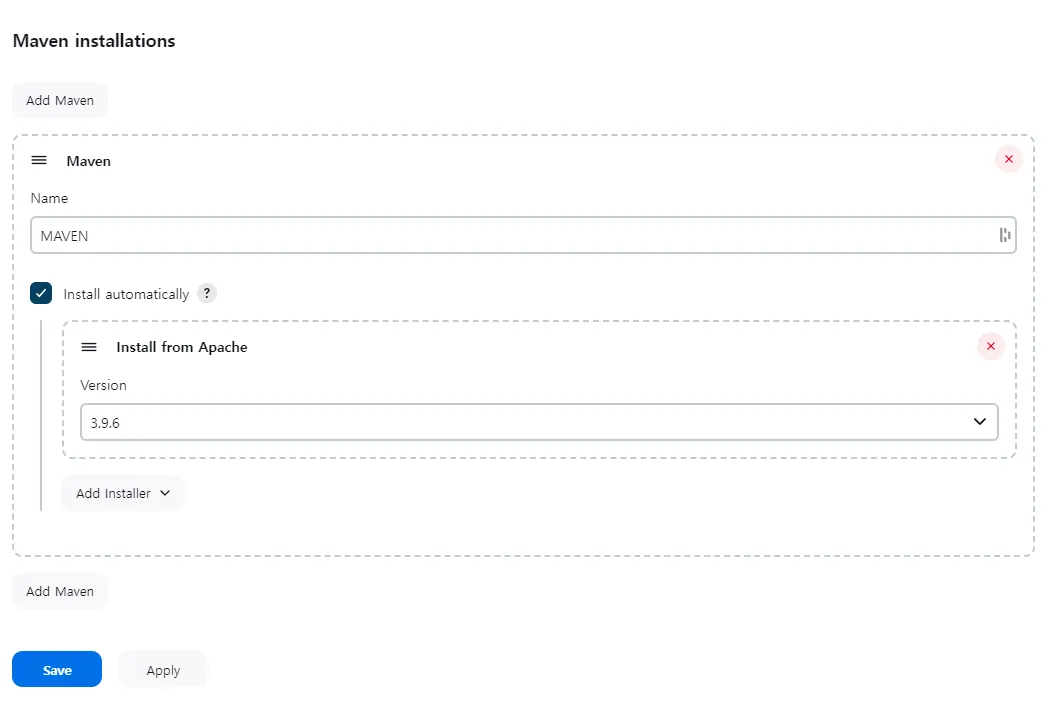
Tools 페이지 하단에 Add Maven을 클릭합니다.
•
NAME 란에 적당한 값을 입력하고 Save를 합니다.
2. JDK
•
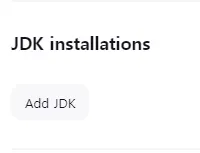
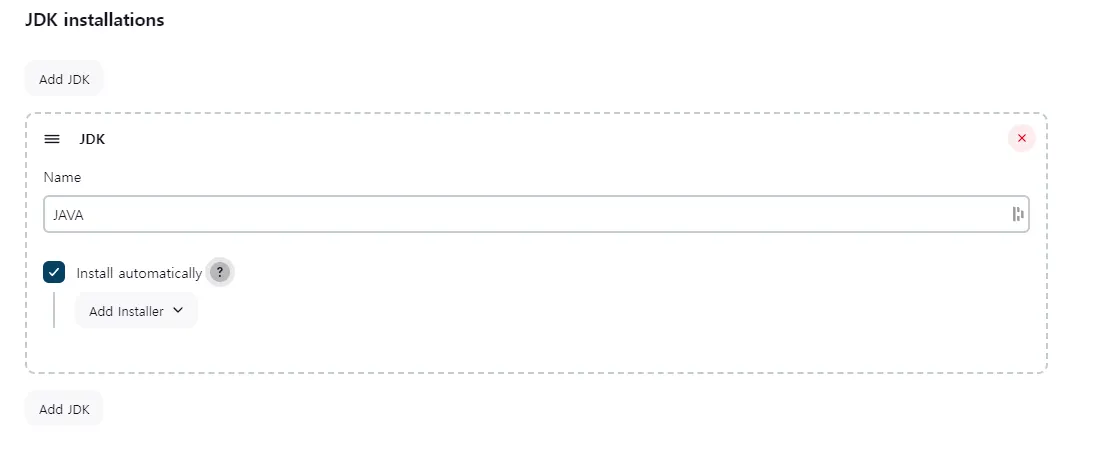
Add JDK를 클릭합니다.
•
Install automatilcally 체크 후, 페이지 하단 Save 클릭
3. VCS :: Git
•
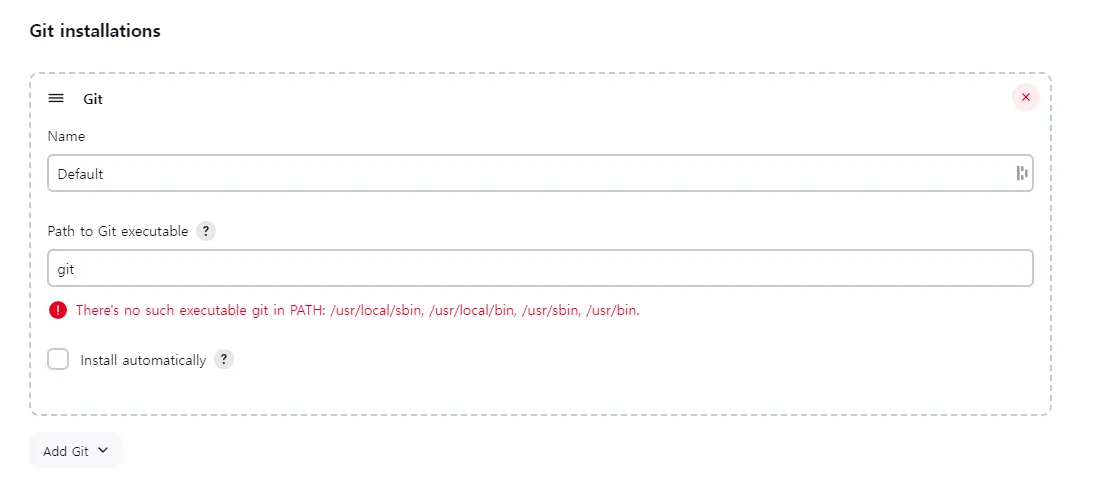
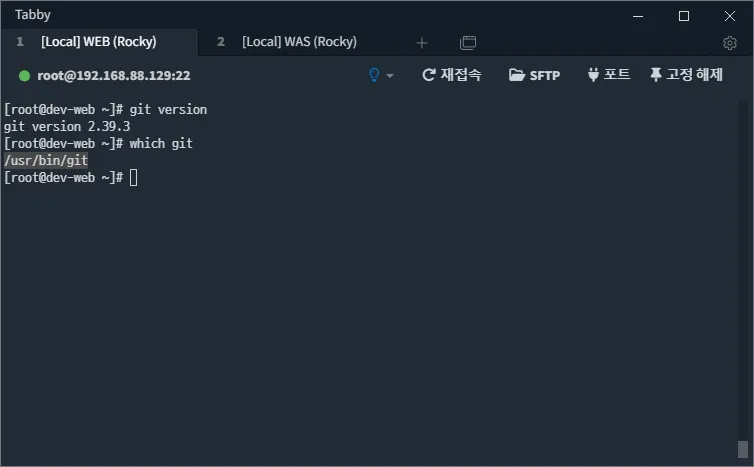
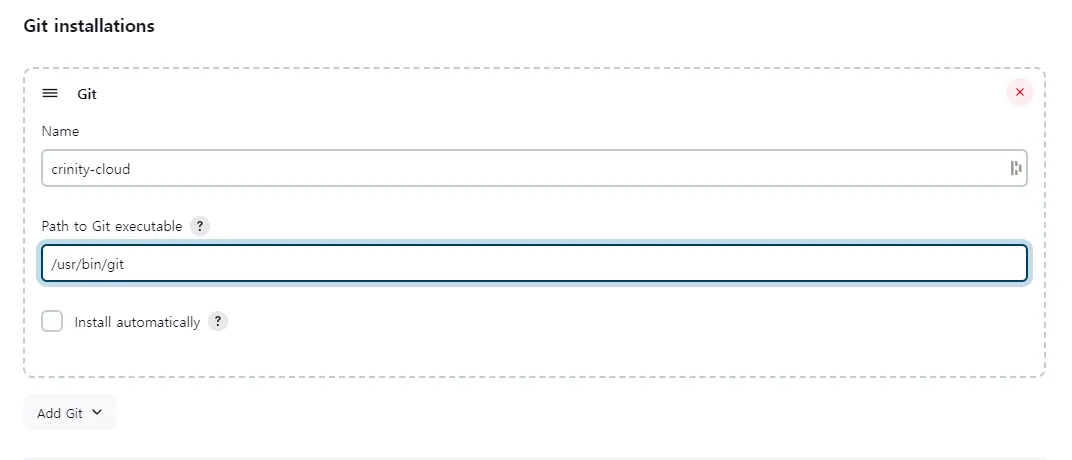
젠킨스 서버에 git을 설치합니다.
dnf install git -y # Rocky
apt install git -y # Ubuntu
yum install git -y # CentOS
Markdown
복사
•
Name 란에 적당한 값을 넣고, 서버에 설치된 git 의 경로를 입력 후, Save 합니다.
5. Plugins 설정
1. Deploy to container
•
tomcat 에 war파일로 배포할 때 사용하는 플러그인
•
Deploy to container 체크 → Install 버튼 클릭
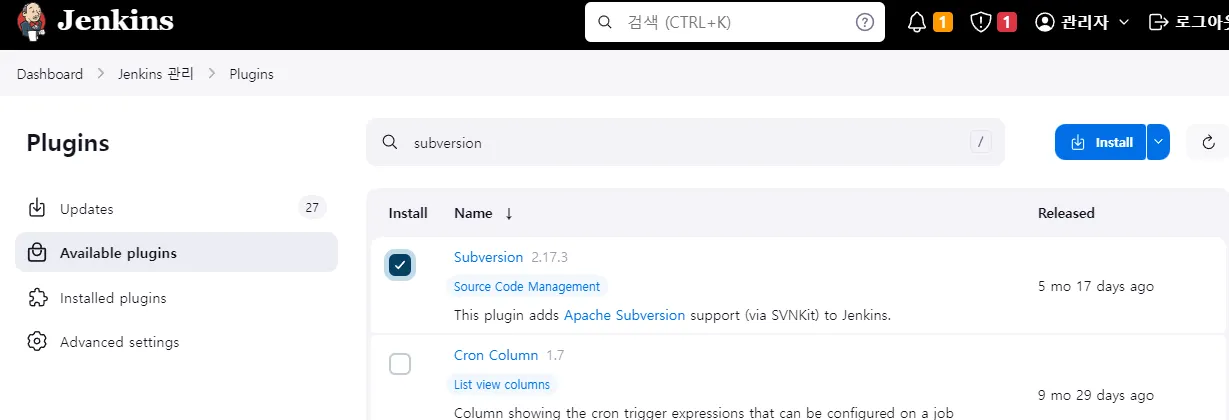
2. Subversion
•
SVN 연동에 사용하는 플러그인
•
Subversion 체크 → Install 버튼 클릭
2. Publish Over SSH
•
젠킨스 서버에서 원격으로 배포하기 위하여 사용하는 플러그인
•
Publish Over SSH 체크 → Install 버튼 클릭

